Cloud Elements supports events via polling or webhooks depending on the API provider. For more information about our Events framework, see Events Overview.
Supported Events and Resources
Cloud Elements supports webhook events for Zuora v2. After receiving an event, Cloud Elements standardizes the payload and sends an event to the configured callback URL of your authenticated element instance. For more information about webhooks at Zuora, including the currently available webhooks, see their webhooks documentation.
Configure Webhooks Through the UI
To configure webhooks through the UI, follow the same steps to authenticate an element instance, and then turn on events. For more information, see Authenticate an Element Instance with Events (UI) or the element-specific authentication topic.
Configure Webhooks Through API
Cloud Elements currently supports events via polling or webhooks depending on the endpoint.
- Polling is a mechanism where Cloud Elements executes the configured query every
nminutes and captures the changed information. - Webhooks are when the provider lets Cloud Elements know what information has changed. Note that additional endpoint setup may be required prior to creating your element instance.
If you would like to see more information on our Events framework, please see Events Overview.
Set Up Events for Zuora
The Zuora element supports webhooks. For Zuora events to work with Cloud Elements, you must configure each element instance and set up the endpoint.
Set up the Cloud Elements instance
To enable events, add these extra configurations to your instance JSON:
"event.notification.enabled": "true",
"event.notification.callback.url": "<INSERT_YOUR_APPS_CALLBACK_URL>"
instance JSON with polling events enabled:
{
  "element": {
    "key": "zuorav2"
  },
  "configuration": {
    "zuorav2.sandbox": false,
    "username": "zuora_user",
    "password": "password",
    "event.notification.enabled": true,
    "event.notification.callback.url": "<INSERT_YOUR_APPS_CALLBACK_URL>"
  },
  "tags": [
    "<Add_Your_Tag>"
  ],
  "name": "<Insert_Instance_Name>"
}
Note: To instantiate a sandbox account, set zuorav2.sandbox to false.
Record your Instance ID
To set up the event in Zuora, you need the instance ID associated with your event.
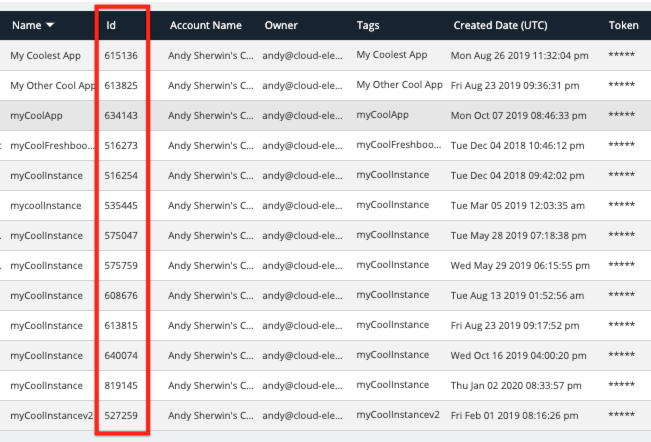
To find the Instance ID via API, call GET elements/zuorav2/instances:
curl -X POST
-H 'Authorization: User <INSERT_USER_SECRET>, Organization <INSERT_ORGANIZATION_SECRET>'
-H 'Content-Type: application/json'
'https://api.cloud-elements.com/elements/api-v2/elements/zuorav2/instances'
To find the Instance ID in the user interface, go to Elements > My Instances:

Set Up the Endpoint
Zuora refers to webhooks as callout notifications. When setting up events, refer to the Zuora documentation: Configure Callout Notifications.
To set up the Zuora endpoint:
- Log in to Zuora and navigate to the Billing, Payments, or Finance settings.
- Click the Setup Profiles, Notifications, and Email Templates link.
- Notifications should appear by default, but if not, click Notifications at the top.
- Locate the callout notifications that you want to use as an event, and then click the Edit link associated with it.
- Select the Active check box to activate the event.
- In Base URL, add the URL to the Cloud Elements events API, and append your Instance ID. For example, 'https://api.cloud-elements.com/elements/api-v2/events/zuorav2/'
- Click add parameter to add the following required parameters:
- Event.Category
- Event.Date
- Click Save.
