Getting started with Element Builder can be quite a daunting task; however, we will clarify some of the concepts of the Information tab to help with some of the questions you may have throughout the process.
Let's begin with the very first part of our Information tab, we will call it the element basic information. Here is a screenshot of what it looks like:

From the top to the bottom, we will explore each and every field on this screen. The first two fields on the top Element Name and Element Key are highly related to each other, therefore, it is important that we name the element properly and ensure that it does not match the name or element key of any other element in the Elements Catalog. That being said, our first step will be to enter the name of your new element, and you will notice that the Element Key will be automatically generated based on the name given to the element. Here is an example:

Next is the Description portion of the element, we believe this is pretty self-explanatory, however, one of the tips we will give is that you provide a concise, clear description of your element's purpose (for example, "this element makes magic happen"):

The next portion is the select the application program interface (API) setup. You should notice that you have 3 options at the present time: REST API, SOAP API, and finally, Database. Select the appropriate option based on your API structure:

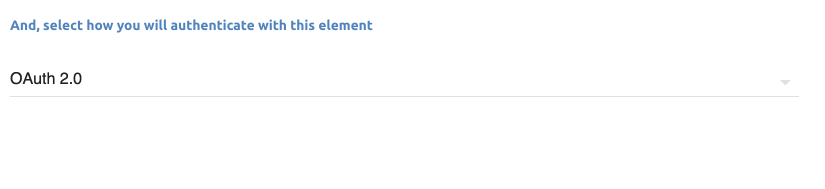
The final portion of the Information setup screen is the select the Authentication flow required to interact with your integration. We support some of the most common methods such as OAuth2, OAuth1, Basic, among others. You can find all the options available by simply click on the drop-down menu, and selecting the option that fits your authentication flow:
After all these fields are completed, you can just upload your element "image" and you will be to move on by clicking the Save and Next button on the right top corner of the page.
