Use the UI to authenticate an element instance so you can test API requests and get a feel for the functionality available in the element. If you are ready to integrate our code in your app, take a look at how to authenticate an element instance using our APIs in a specific element doc.
Note: Each element is different and you should check the documentation for the specific element that you are connecting to for details.
To authenticate an element instance:
- Sign in to Cloud Elements 2.0, and then search for the element in our Elements Catalog.
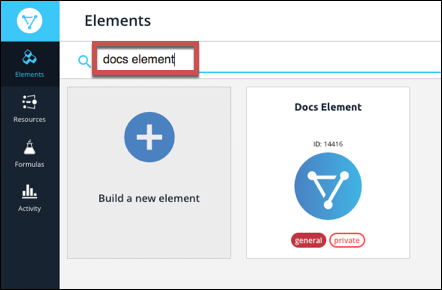
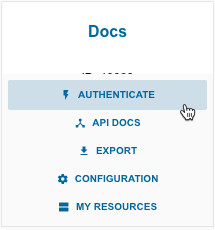
- Hover over the element card, and then click Authenticate.
- Enter a name for the element instance.
- Complete any element-specific information. See the documentation for the element for details.
- Optionally type or select one or more tags to add to the authenticated element instance.
- Click Create Instance.

After successfully authenticating, we give you several options for next steps. Make requests using the API docs associated with the instance, map the instance to a virtual data resource resource, or use it in a formula template.
