Installing Ground2Cloud (G2C) for Quickbooks Enterprise is a two step process that includes installing the Ground2Cloud client and then installing and connecting the QB Connector to Quickbooks. Make sure that you work with your Cloud Elements CSM or Delivery Manager to help with the G2C initial setup.
Ground2Cloud supports any version of QuickBooks that is supported by the QuickBooks SDK. This includes all United States, Canada and UK versions of QuickBooks since 2012. For more information about the QuickBooks Enterprise element, see its element documentation.
Prepare to Install G2C
Before you begin, review this list of prerequisites and recommendations:
- The person installing must have administrative rights to the computer.
- Ports 8080 (the connector port) and 8100 (the API port) are open and not in use. See how to check.
- Microsoft .NET Framework version 4.7 or later. See how to check.
- The latest installer version available here.
- We recommend that you install QuickBooks Enterprise before installing G2C, but you can do so after. If you install QuickBooks after Ground2Cloud, you must manually start the QB Connector to connect to QuickBooks.
- We recommend that you disable your antivirus software for the duration of the installation.
- Identify if you already installed the QuickBook SDK. If not, the wizard will install it.
Ensure that the default ports 8080 and 8100 are open and not in use
To check your ports, open a command prompt and enter:
netstat -na | find "8080"netstat -na | find "8100"If you receive no response, the connection is open and not in use.
Check your version of .NET Framework. The minimum required version is 4.7
To check your .NET Framework, follow the steps in this article from Microsoft, or enter the following commands:
reg query "HKEY_LOCAL_MACHINE\SOFTWARE\Microsoft\NET Framework Setup\NDP"reg query "HKEY_LOCAL_MACHINE\SOFTWARE\Microsoft\NET Framework Setup\NDP\v4\full" /v versionVisit the .NET Installation Guide to download and install the Microsoft .NET Framework,
Install G2C and the QB Connector
Installing G2C involves two primary steps:
- Install G2C. This step installs the G2C client and Node.js (if not already installed).
- Install and Set up the QuickBooks Connector. This step installs the QuickBooks SDK, which is required to connect to a QuickBooks Enterprise element, and the QB Connector app. The QB connector app is a translator program that converts between the standard REST API requests of the Cloud Elements Platform and the SDK calls needed to talk to QuickBooks.
Note: If you run into any installation problems, we recommend that you uninstall and then install the software again? Network problems can cause issues during installation, so make sure that you aren't experiencing network outages during the installation.
Install G2C
If you have not already, download the relevant version of the Ground2Cloud Setup wizard here.
- Run the Ground2Cloud Setup wizard (Ground2CloudQBSetup_n.n.n.exe).
- If asked, verify that the Publisher is Cloud Elements, Inc, and then click Yes to allow the Ground2Cloud Setup to run.
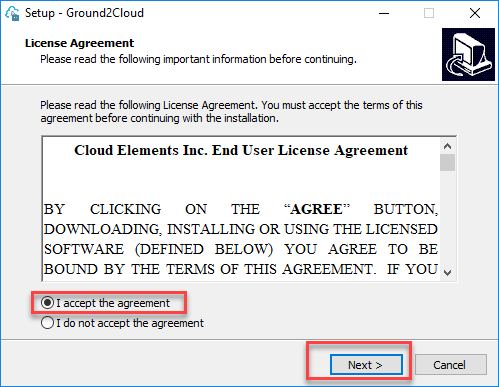
- Read and accept the License Agreement, and then click Next.
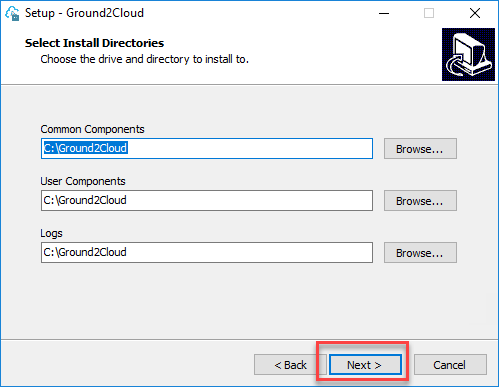
- Specify the directories to install the components of G2C, and then click Next.We recommend keeping the defaults. If you specify different directories, the Common Components directory includes the GUI, Node.js, and the QB Connector; the User Components directory contains user configuration files; and Logs contains application logs .
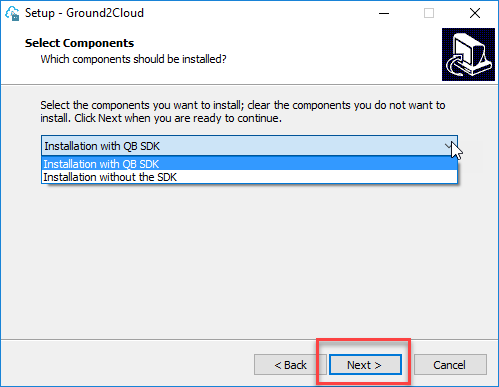
- On the Select Components window:
- If you have not already installed the QuickBooks SDK, keep the default Installation With QB SDK, and then click Next.
- If you already installed the QuickBooks SDK , select Installation Without the SDK, and then click Next.
- Choose whether to create a shortcut on the desktop to the G2C GUI, and then click Next.
- Review your selections. Feel free to click Back to correct any errors.
- Click Install.


After the wizard installs the SDK you are prompted to install the QB Connector and finish the setup wizard. You can finish the wizard before or after you install and set up the QB Connector.
Install and Set up the QuickBooks Connector
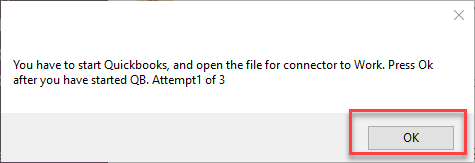
At the end of the installation, you're prompted to start QuickBooks and open the file to connect. The QB Connector sometimes takes a few tries to connect. If you cannot connect after three tries, skip to the steps in Manually Connect the QB Connector.
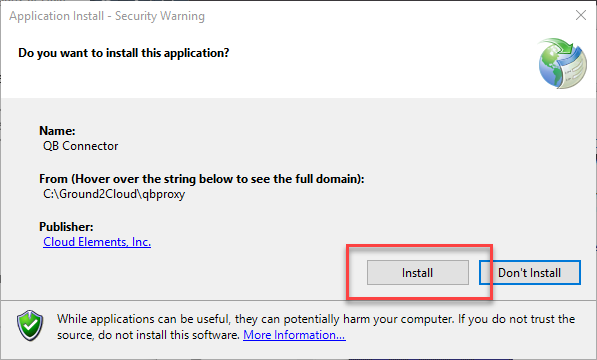
- When prompted to install the QB Connector, click Install.
- Start QuickBooks and open the file to connect to.
- At the prompt, click OK.
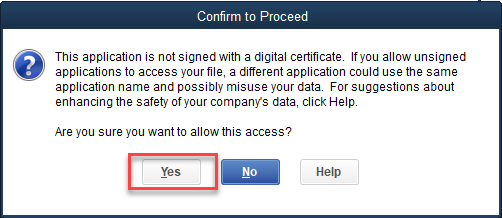
- Shift your focus to QuickBooks, and in the Application with No Certificate window, click Yes, whenever this QuickBooks company file is open, and then click Continue.

- When asked to confirm that you want to allow access, click Yes.
- Review the access rights, and then click Done.
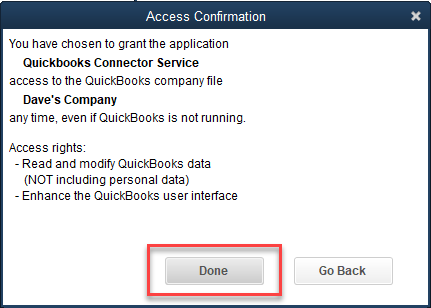


The QB Connector is installed and set up. Open it by searching for QB Connector.
Manually Connect the QB Connector to QuickBooks
Perform the steps in this section only if you could not automatically connect during installation or to set up a new connection.
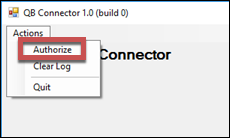
- Start the QB Connector.
- Click Actions, and then click Authorize.
- In Authorized App Name enter a name for the connection or just keep the default. The name is used to identify the connection in QuickBooks and also as the Configured Application Name when you authenticate an element instance.
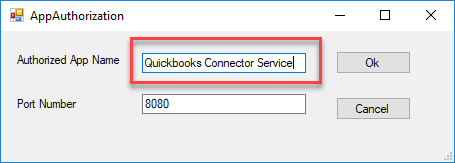
- Keep the default port number and click OK.
- Set up the connection in QuickBooks: Continue from the shift focus to QuickBooks step in the previous section.


The QB Connector is connected to QuickBooks as Authorized App Name that you confiured.
Uninstall G2C
Uninstall G2C, related connector, and any associated files from the Windows Apps & Features page.
- On the Apps & Features page find Ground2Cloud version n.n.n and uninstall it.
- Allow the uninstaller to make changes and then confirm the uninstall.
- When prompted, select Remove the application from this computer, and then click OK.
