Building an element is a multi-step process that you likely won't complete in a single sitting. We've broken the steps up in this section in separate topics linked from this topic. Here, we'll get you started and give you a high level overview of how to build an element.
The Workflow
While you can work on different parts of an element throughout the entire creation process, in general you will follow the high-level workflow shown below.

 Information tab. Define the basic element information (name, key, description, authentication type, API type, documentation URL, API version, and image).

 Setup tab, Properties section. Configure the element properties (base URL, pagination, and header information).
 Setup tab, Authentication section. Set up authentication information based on authentication types.
 Setup tab, Configuration and Parameters sections. Define the configurations and related parameters needed to authenticate.
 Setup tab, Hooks section. Write custom pre-request and post-request hooks.
 Setup tab, Events section. Set up polling or webhook events.

 Resources tab. Define the API provider resources to connect to.
Get Started
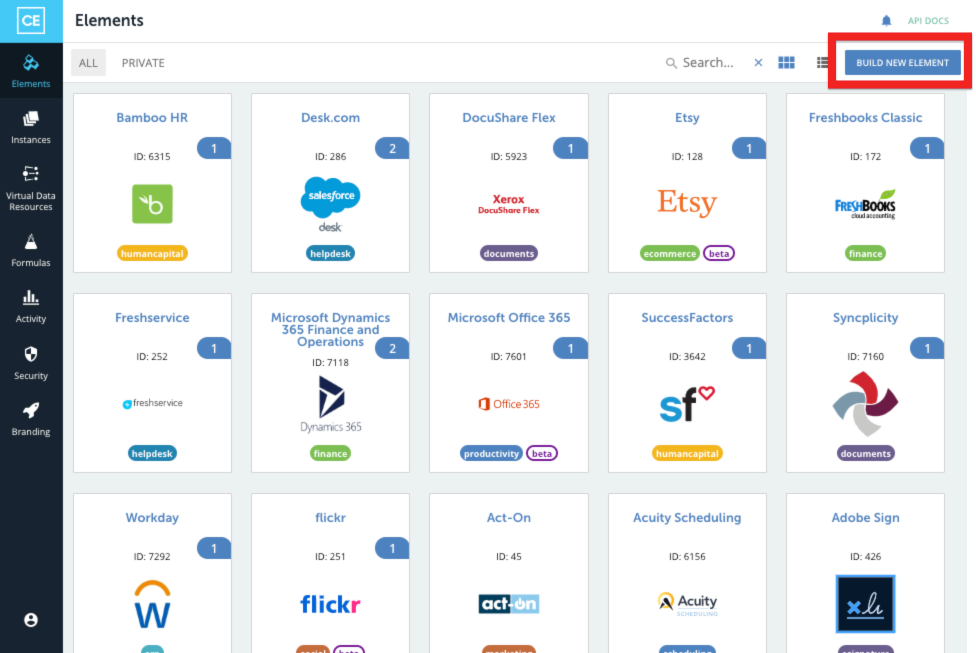
To begin building an element:
- On the Element Catalog page, click Build a New Element.
- On the Builder page, click Create.
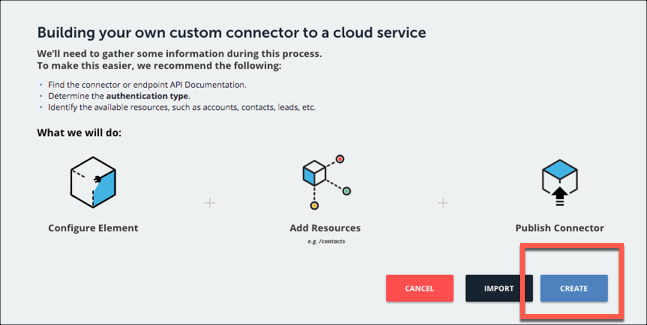
- Complete the Information tab.

