Using our open Github repository, you can share elements you have created, as well as send a direct request to publish your element to our Open Developer Community. In doing so, the process of exporting the element you created or sending a pull request to Github is automated.
Import a Community element
You can import elements from our Open Developer Github Repository to your user account, one element at a time.
- On Cloud Elements UI, click 'elements' on the navigation panel. You can see three tabs - All, Private and Community, as shown below.
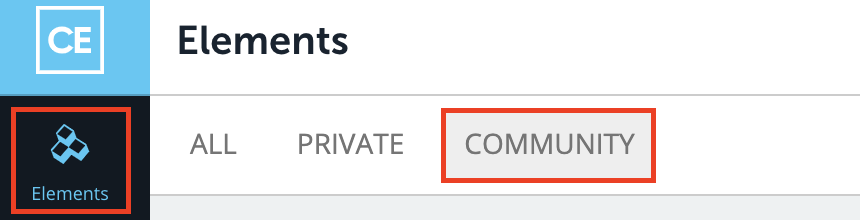
- Go to the 'Community' tab. You will see a list of all the elements that are present in the repository.
- Navigate to your element, click 'Import' . In the example shown below, we're importing a demo element.
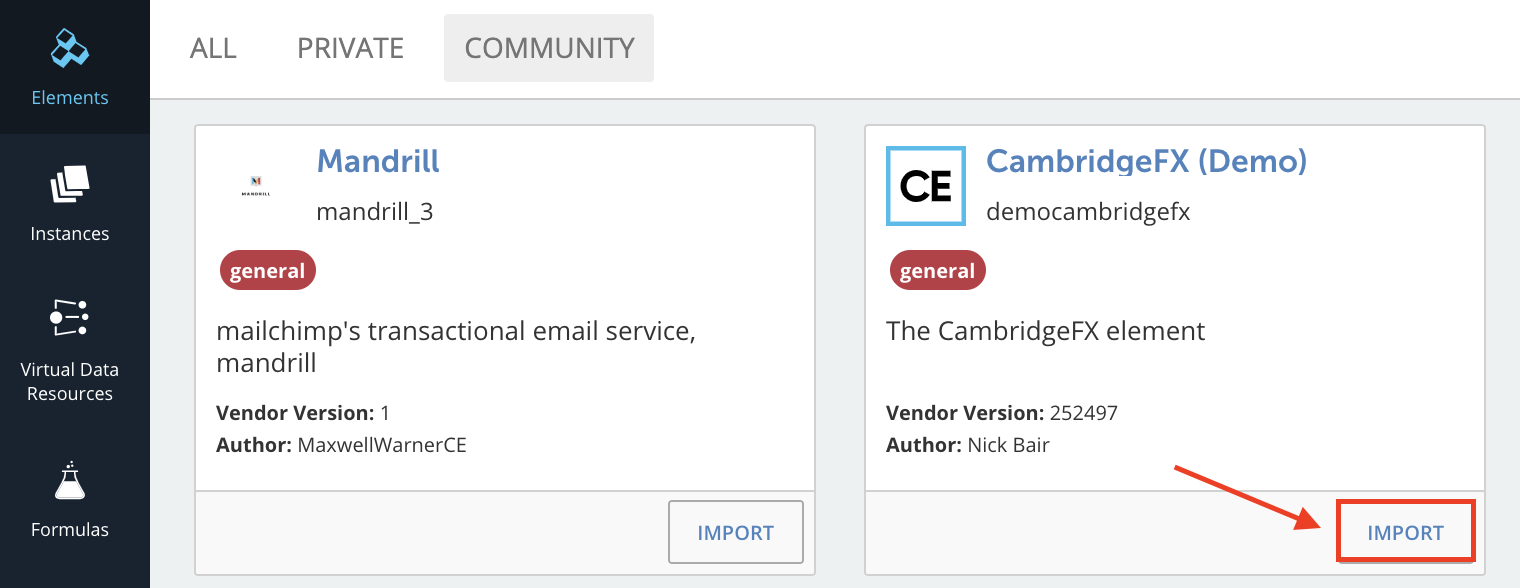
- This action makes a call to Github and gets all the details of the element.
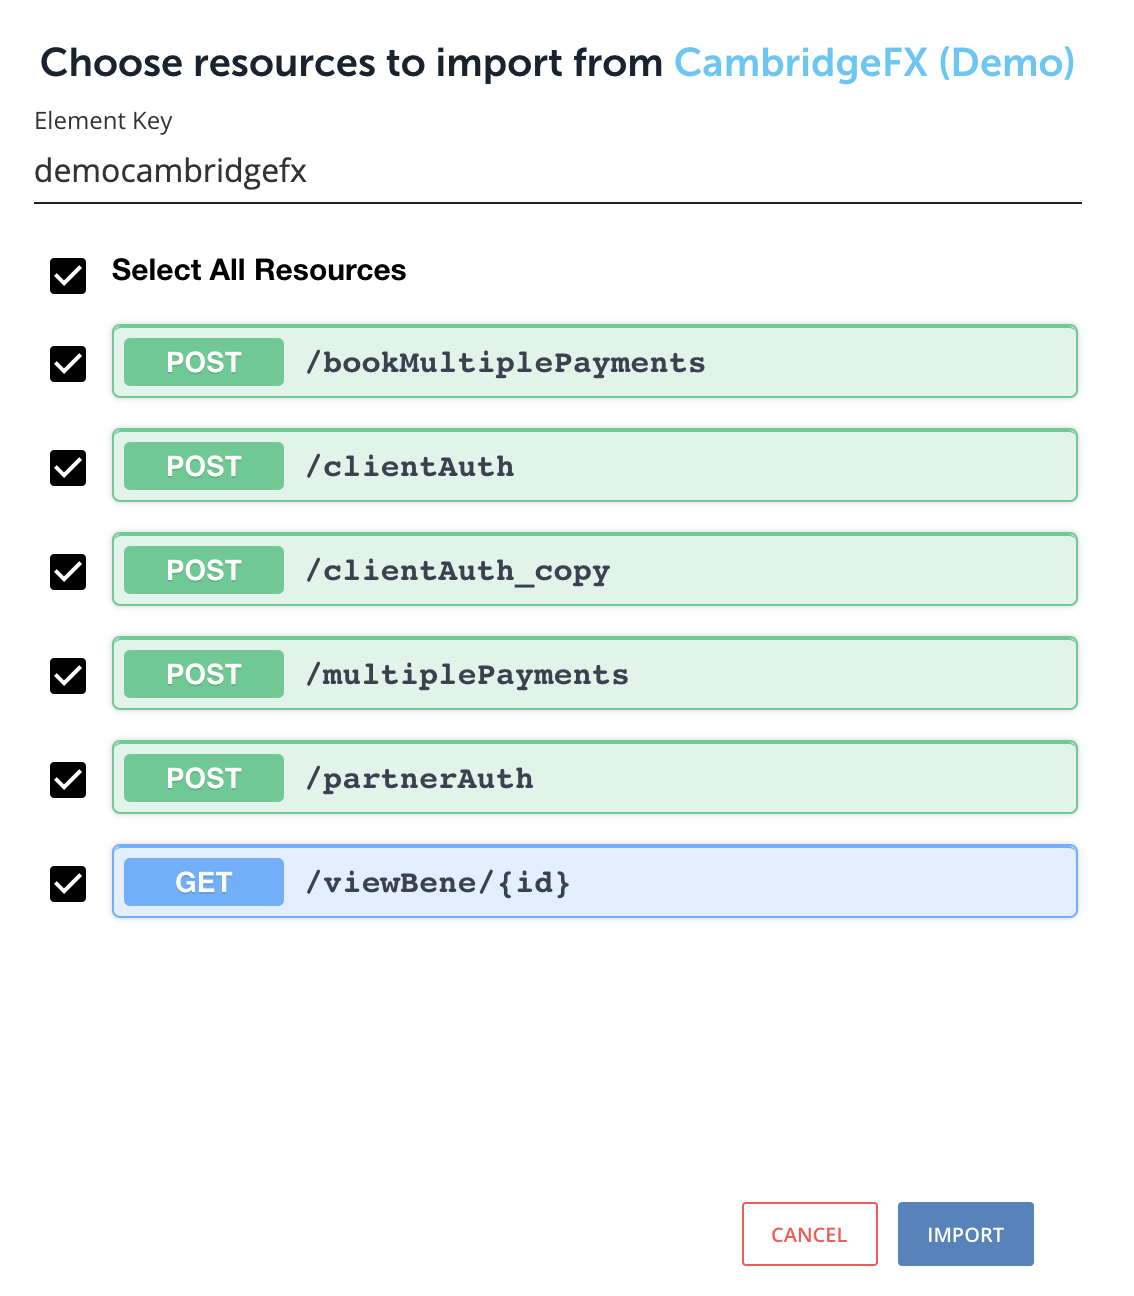
- Select all the resources you want to import. Click 'Import'. Your element will be imported to your private account.


Export a Community Element
You can export your element to our community repository in Github. To export an element, you need to either already have a Github instance or create one.
- On Cloud Elements UI, click 'elements' on the navigation panel. You can see three tabs - All, Private and Community, as shown below.
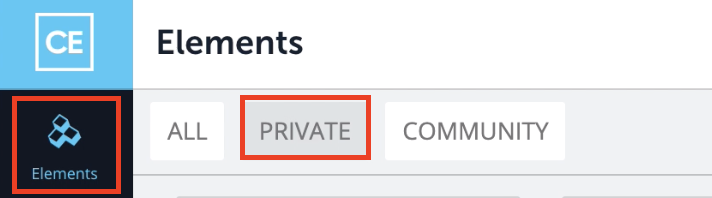
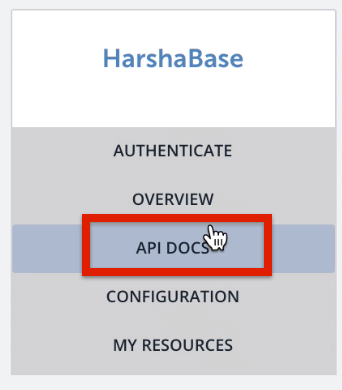
- You will be see all your element under the 'Private' tab. Hover on the element you want to export, click API Docs and on the page that appears, go to the 'Publish' tab.

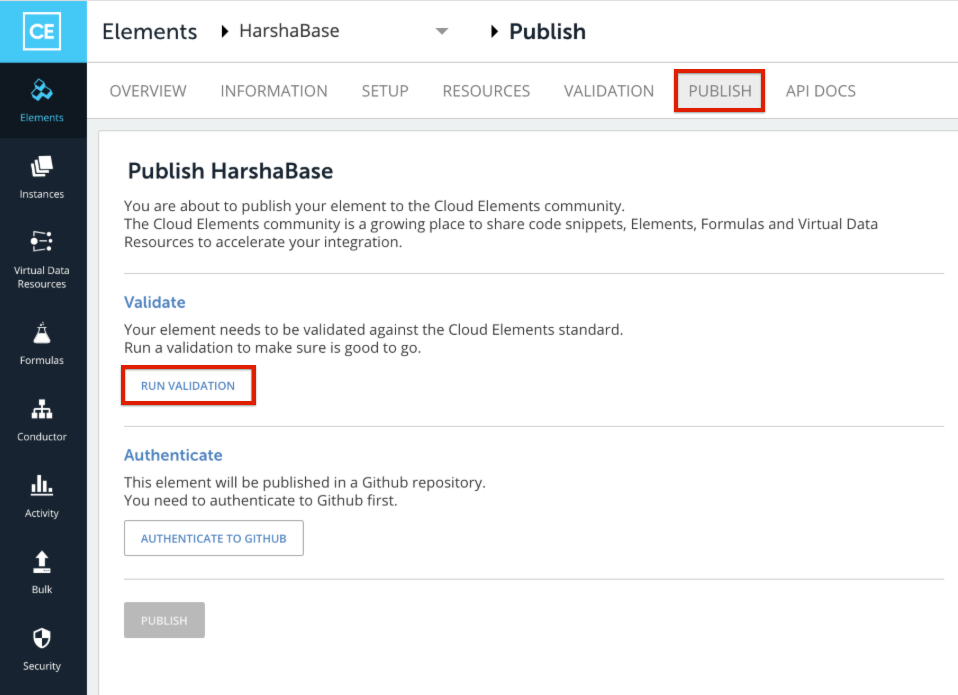
- Before you export an element into our repository you need to validate it against some standards set by Cloud Elements.
- Click on 'Run Validation'. This validates the element's swagger and element.json file.
- If the validation is successful and you already have an instance provisioned with Github, you can export the element using that instance. The instance must include a tag named "Community-Instance".
- If the validation results in an error, click 'Fix Errors'. The 'Publish' button is disabled till the errors are fixed.
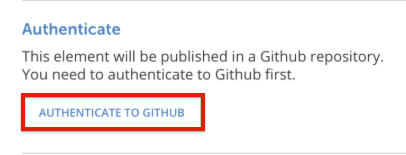
- If you do not already have a Github instance, click 'Authenticate to Github'.
- You will be directed to Cloud Elements UI to create a Github element instance.
- Before creating an instance with Github, you will need your own Oauth App in Github. Follow the steps in the Github Documentation to create an Oauth App.
- Once you register your application, use your App's OAuth API key, and OAuth API Secret to create your Github instance.
- Your instance is created with the tag "Community-Instance" added to it and will be used whenever you use the export functionality in the future.
- Once you have an instance, you're directed back to the Publish tab and it appears as shown below, with a check marked below Authenticate.
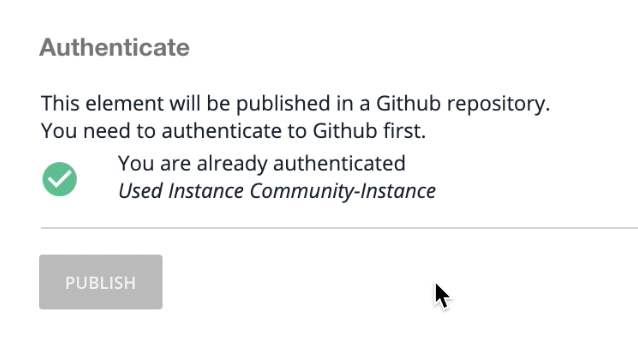
- Click on 'Publish' to create a pull request in the community to publish your element.
- You will see a screen, as shown below, once your pull request has been created.
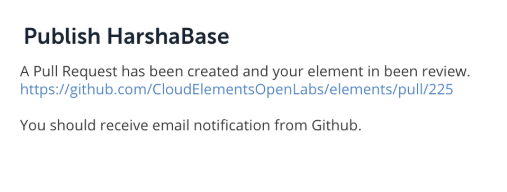
- The status of your pull request will be notified to you via Github emails.


