The Manage Environments feature in Cloud Elements is an asset management tool which facilitates the import of artifacts like Elements, Formulas, and Virtual Data Resources from the local system to the platform, as well as the export of the same, from the platform to your local system. It can also help you promote or move your artifacts from your current environment to the target environment.
Why Manage Environments?
Though we already support export and import of any artifact to/from the platform, it is limited to one asset at a time. With this feature, you can import or export multiple artifacts at the same time. This could be ‘n’ number of Elements, Formulas and Virtual Data Resources or a combination of the three.
In addition to importing and exporting your artifacts, you can also move them from one environment to another; not only from a lower level to higher level environment but also vice versa.
All the users in an account can view the job logs on the landing page. However, while all the users in an account will be able to view the progress of a job, only the user who initiated the job can terminate it.
How to Manage Environments
To use this feature, click on Settings > Manage Environments.
- The landing page that appears will show use the history of changes made already.
- Click the dropdown icon for more information on a particular operation.
- You can use the Import, Export or Promote functions, each of which is explained further in detail below.


Managing Environments - Landing Page
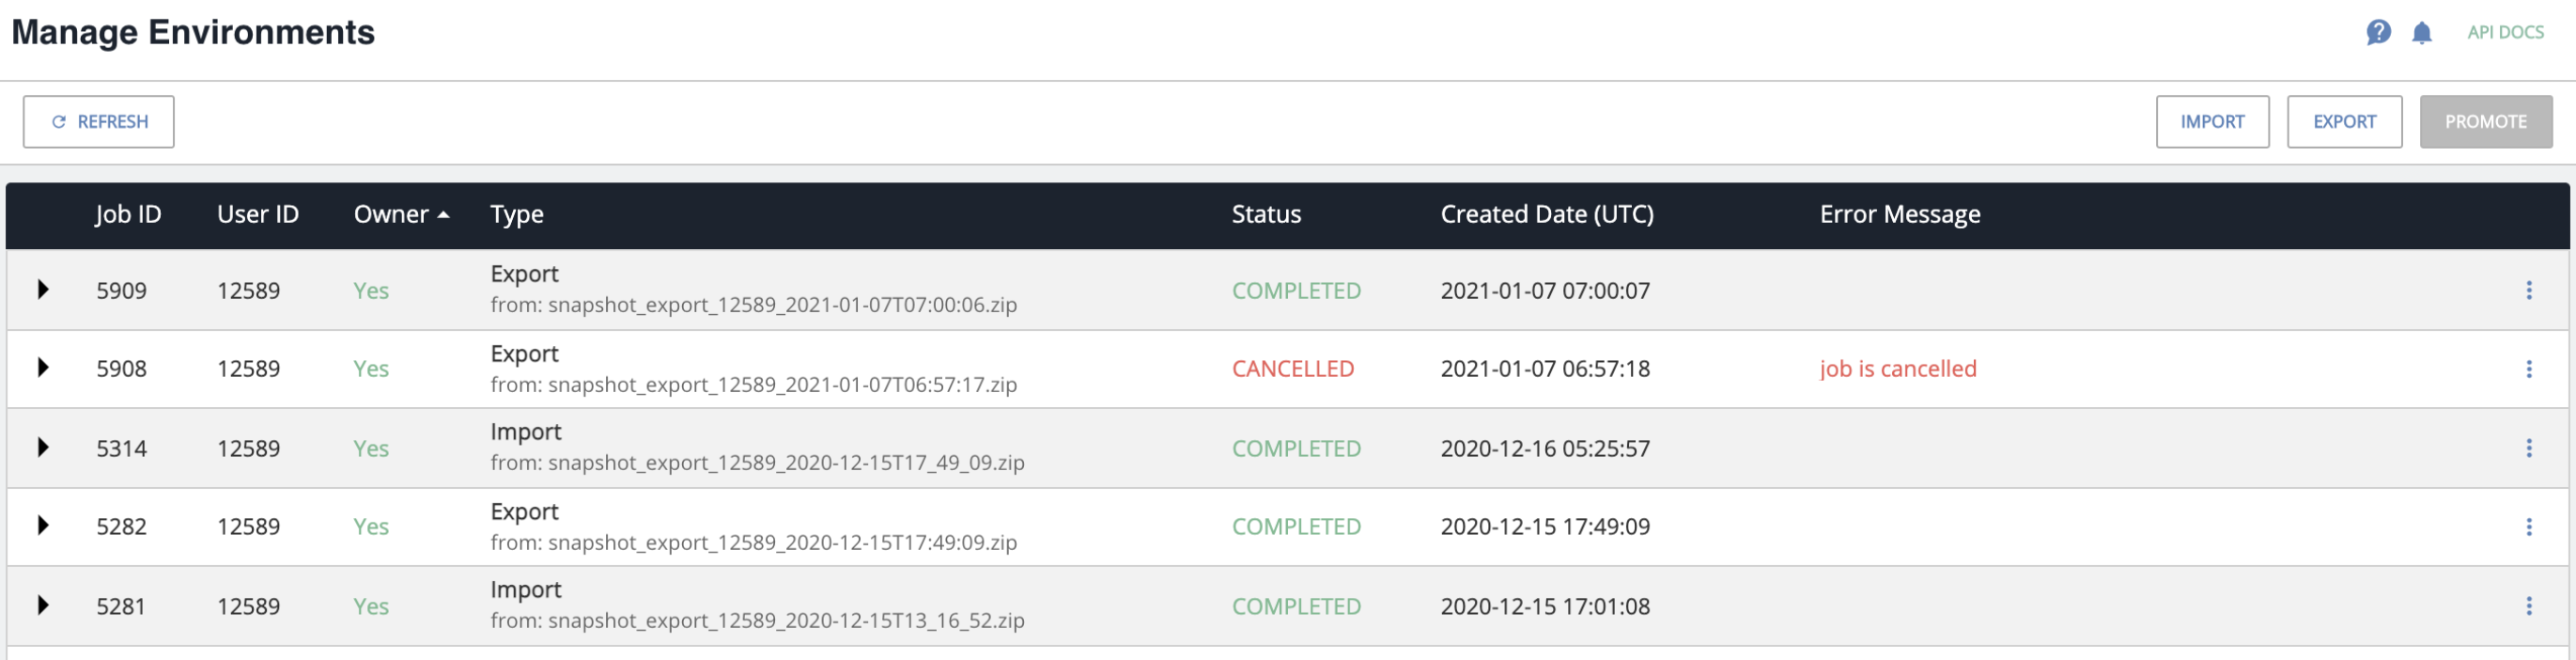
On the landing page, users can view all logs maintained at the account level, which means all the users in an account have a common view of all job logs. This page is where a user initiates the action to either export or import all artifacts to or from the platform. This page shows a maximum of 100 records with the latest ones on the top. Users also have the flexibility to sort the logs by Job ID, User ID, Owner, Type, Status and Created date.
The table on the landing page includes the following properties:
| Property | Description |
|---|---|
| Refresh button | On clicking this button, all the jobs on the landing page get refreshed. |
| Job ID | Unique identifier for a job. |
| User ID | Identifier for a user in an account. |
| Type | Type of functionality executed for the job ID. It could be import or export. |
| Owner | User who executes the job. If a user is the owner of a job, the value will be ‘Yes’. |
| Status | Status of the job that is active. The values of this property could be 'In Progress' (when a job is running/active), 'Completed' (when a job is completed) or 'Cancelled' (when a job is terminated either by a user or internal system issue). |
| Created Date | The date and time stamp for a job that is being executed. |
| Error Message | Message that appears when a job is cancelled by the user. |
Each log on the table can be expanded to view more details of a job that includes the list of artifacts that have been exported/imported. When a job is in progress, the job owner can view the job status by clicking on the the ‘View Job’ button.
Exporting Artifacts
With the export option, you can export all your artifacts including Elements (private and extended), Virtual Data Resources and Formulas from your account to your local system. When exporting, the selected artifacts will also be checked for any dependent artifacts, allowing you to ensure that any exported artifacts come along with any other artifacts which they require to function; this function only exports extended resources and does not export all the resources of an element. See About Dependent Artifacts below for additional information.
To use the export functionality, complete these steps:
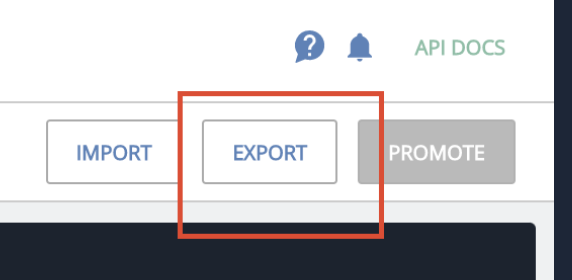
- Click on the Export button on the top right corner of the page.

Note: This function only exports extended resources and does not include all the resources of an element.
- The screen that appears shows all the Elements, Formulas and Virtual Data Resources that are available in your current environment.
a. You can select/deselect items as per your need.
b. You can also search for any specific artifact if you would like to.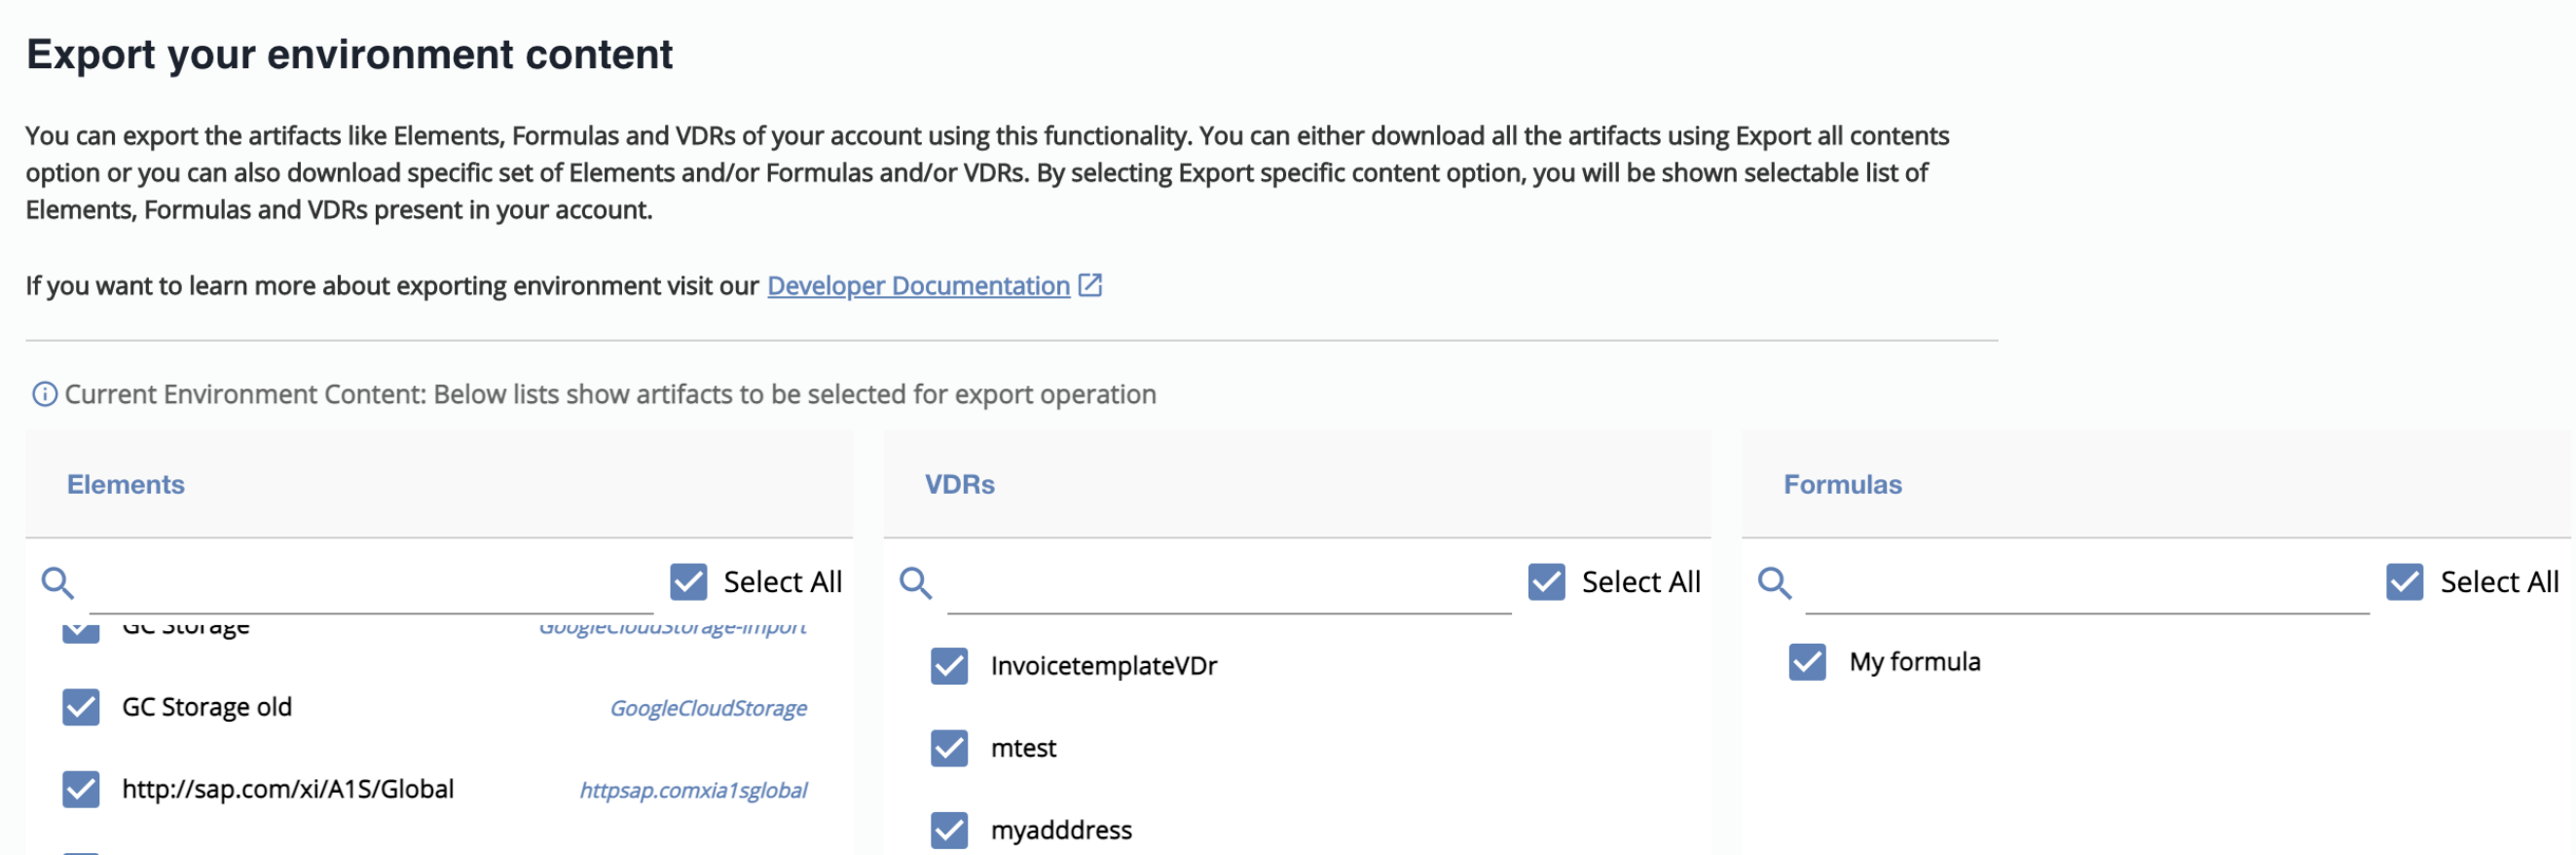
- Select all the artifacts that you'd like to export out of the environment you're on.
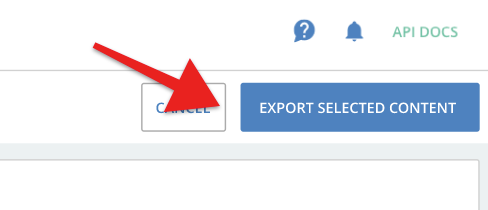
- Click the 'Export Selected Content' button.
If any of your selected artifacts are dependent on artifacts not included, a banner appears:
You can select Show missing artifacts to display the artifacts and their dependencies: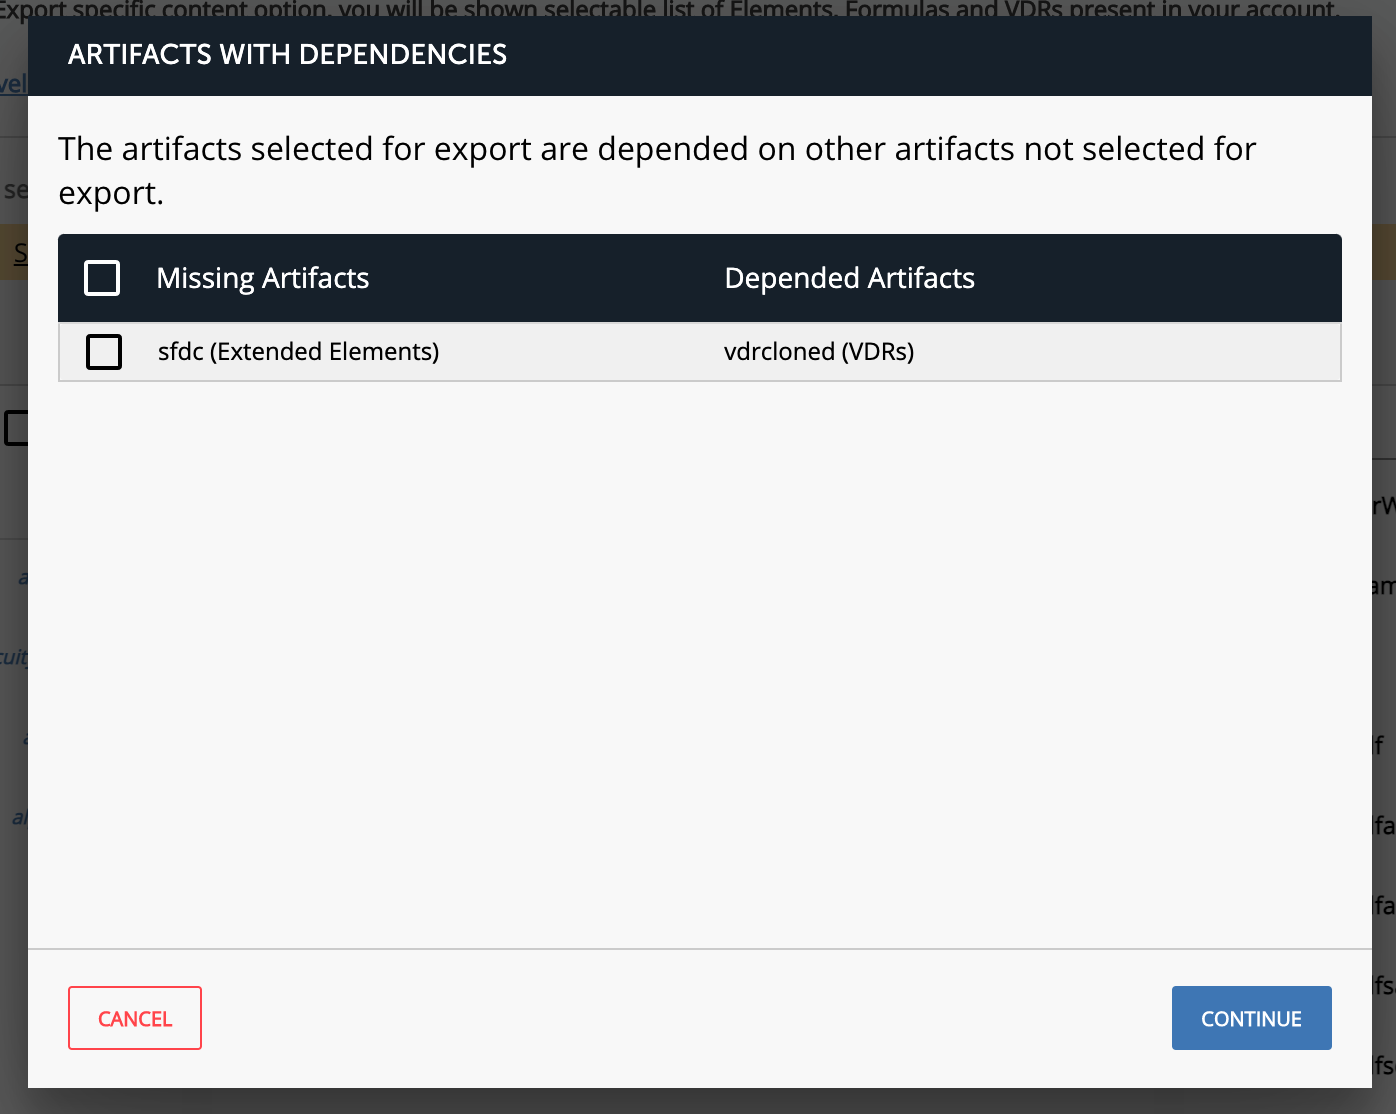
Select the missing artifacts and click Continue to include them in your export.


Note: This function only exports extended resources and does not include all the resources of an element.
- After the export job begins, you can see the progress of the job displayed as the message banner on the top.

- Users can do the following things while the job is in progress:
a. You can click on Stop Export to stop exporting the items in your file. On doing so, you can select the items you would like to export again. b. You can either stay on this page or migrate to a different page to perform different activities on the account.
 - Once exported, all the artifacts get saved in a zip file in your computer. As the file gets downloaded, the system navigates the user to the landing page by updating the latest log on the top with an option to download the exported file at any time.
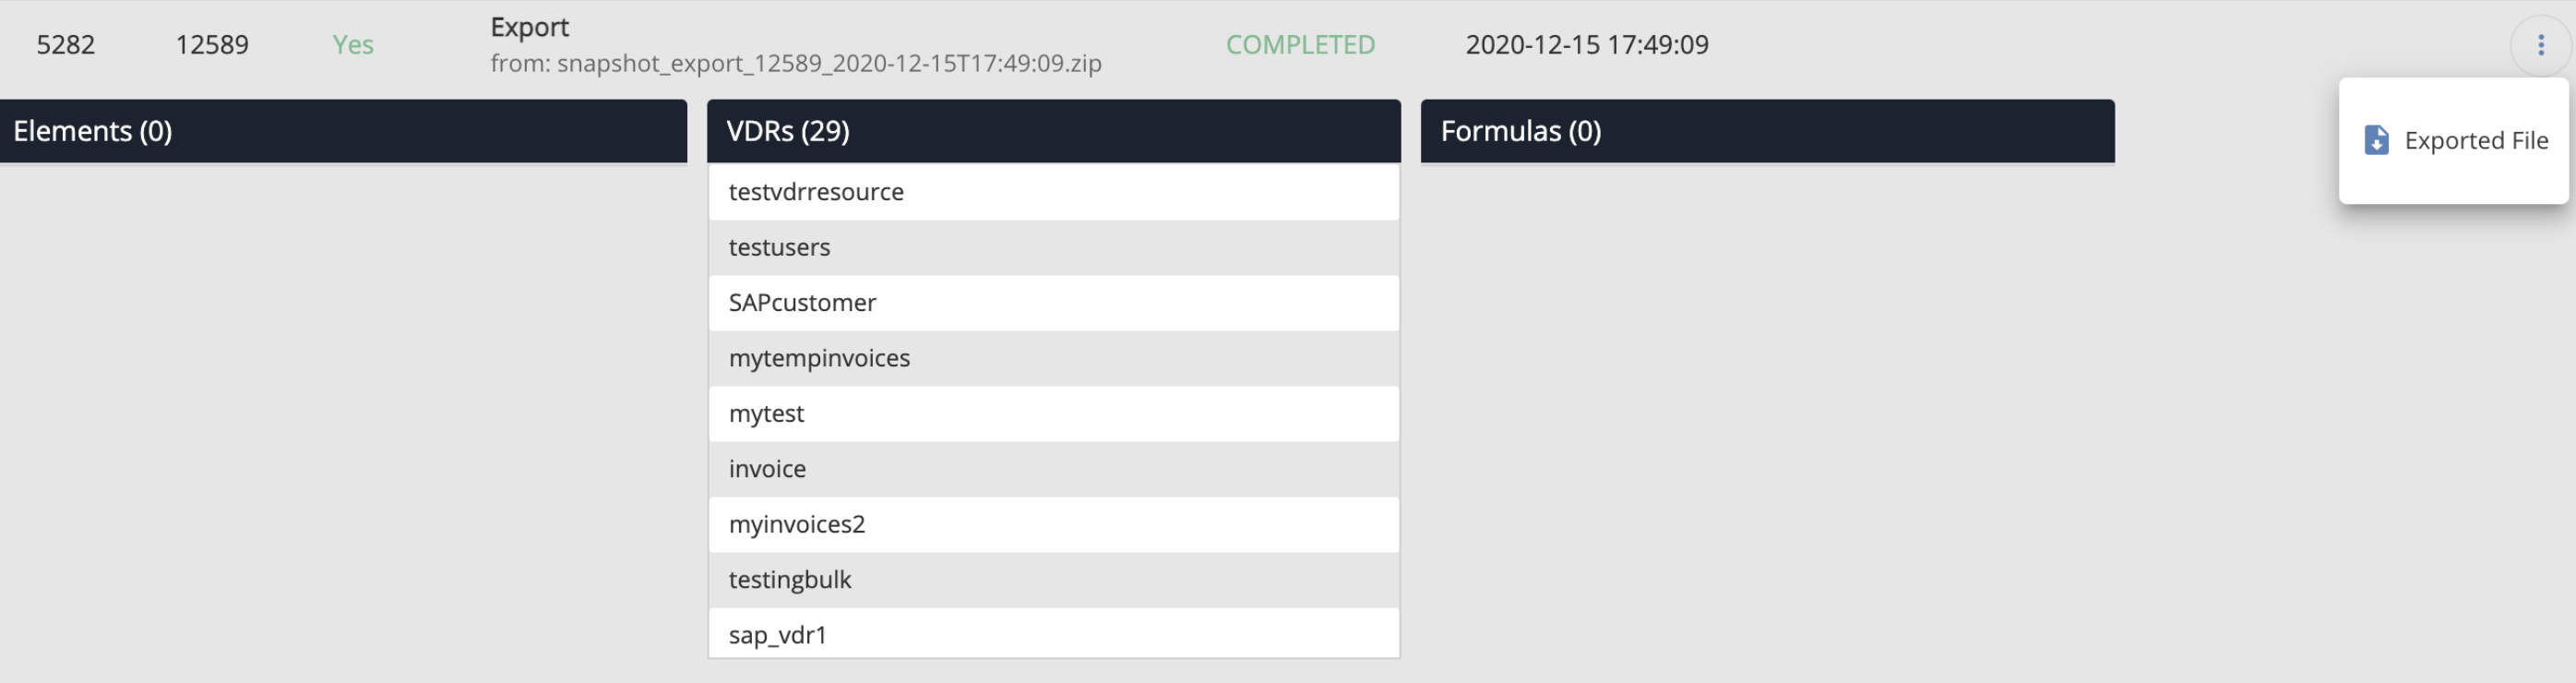


When an artifact is exported, your file gets downloaded in a zip format. On extracting this file you will see three folders - Elements, Formulas and Virtual Data Resources and each folder would contain the corresponding artifacts.
The name of the exported zip file follows a specific format - <environment>_<functionality><ID><Date-time>.
Environment refers to the environment in which the functionality is invoked.
Functionality refers to the function user wants to perform - import, export or promote.
ID is the unique identifier for the AWS bucket.
Date-time refers to when the job is invoked.
On expanding any of the folder, the artifacts contained are shown in sub-folders and each sub-folder contains the corresponding json objects. Shown below is an example.
Importing Artifacts
With this functionality, you can import artifacts into your account using a zip file. To use this functionality:
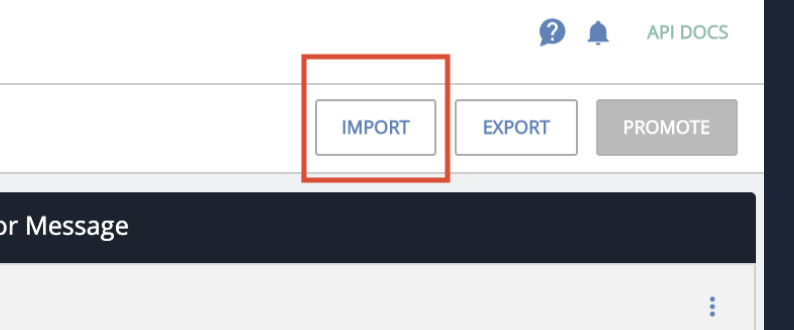
- Click on the 'Import' button on the top right corner.
- On the screen that opens, click on the 'Select File from Computer' button.
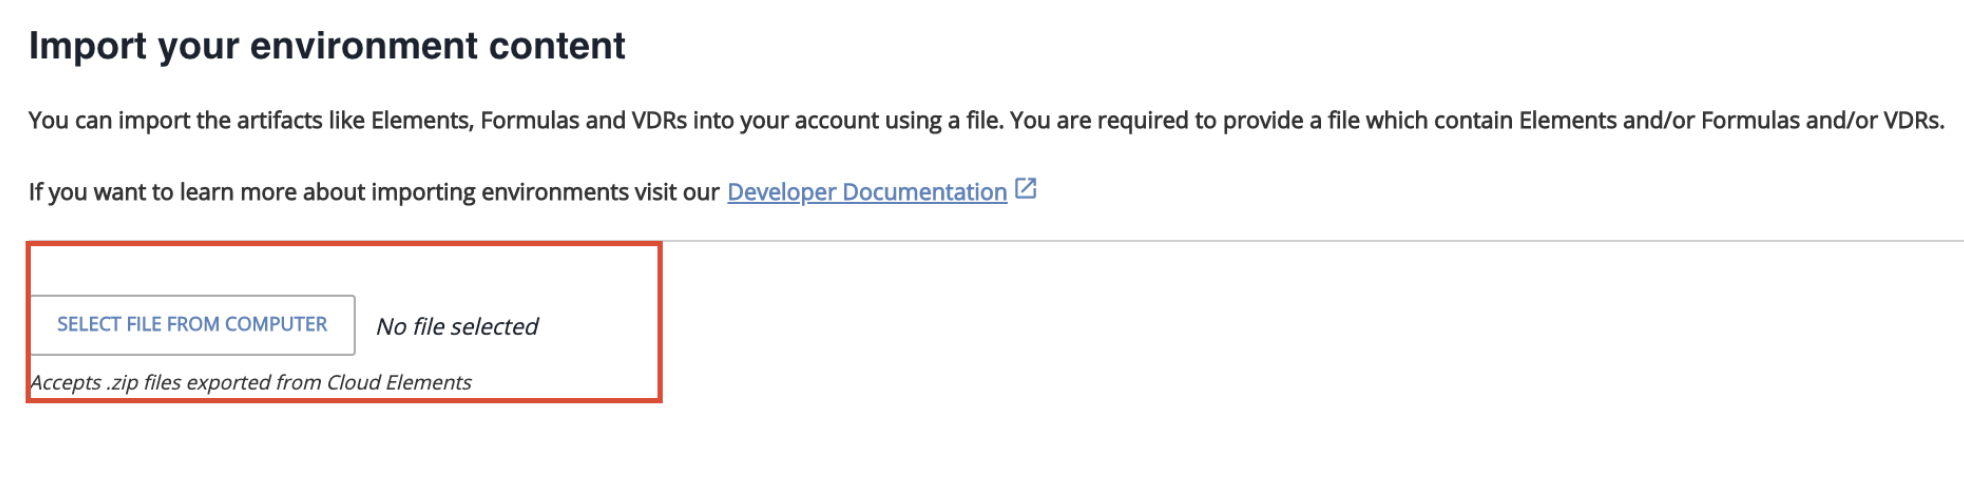
- Select the file from your computer that contains the artifacts you saved when you exported them from another environment.
a. You can only upload a zip file containing all the artifacts exported from our platform.
b. If the file selected is incorrect, you see an error message as shown below.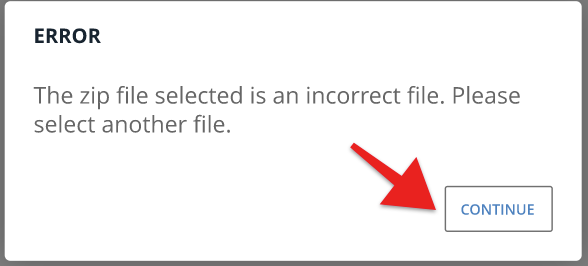 Click Continue to select a different file.
 - Once you upload the file, you should be able to see the file and all the Elements, Formulas, and Virtual Data Resources that it contains on the screen that appears.
a. You can select/deselect items as per your need.
b. You can also search for any specific artifact: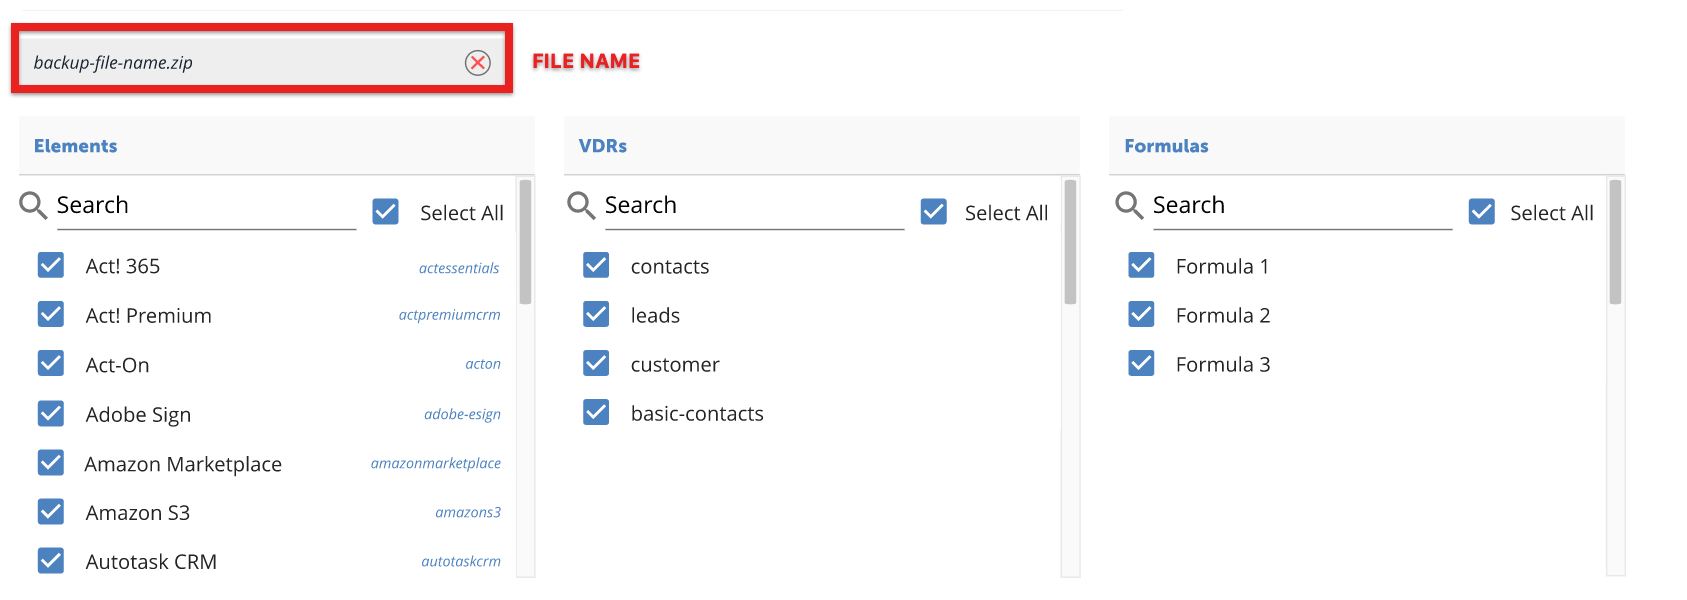
- Select all the items you would like to import and click 'Import Selected Content'.

- You can see the progress of the artifacts being imported.
 You can also watch the progress of the job displayed from the message banner on the top.
- User can do the following things while the job is in progress -
a. You can click on Stop Import to stop importing the items in your file. On doing so, you can select the items you would like to import again. b. You can either stay on this page or migrate to a different page to perform different activities on the account.
 - Once the import is complete, a message appears as shown below.
- After import, you can view your logs on the landing page. You can also download the imported files. For an import log, you will see two options using which you can download the imports:
a. Download 'Imported file' - Allows you to download the zip file that was imported corresponding to this log.
b. Download 'Backed file' - In case your system gets corrupted, you can download the backup file for an import job.


 Click Continue to select a different file.

 You can also watch the progress of the job displayed from the message banner on the top.

Promoting Artifacts
With Promote, you can move artifacts from your current environment to any other environment. For example, you could move a Formula built on your staging environment to either your snapshot environment or production environment.
To use this feature:
- Click on the 'Promote' button on the landing page.
- On the screen that appears, you should see all the artifacts, that is, Elements, Formulas and Virtual Data Resources in your current environment.
- From the list you can select/deselect the artifacts you'd like to promote.
- You can also search for any specific artifact if you would like to.
- Select all the artifacts you want to promote.
- On the same page, choose the target environment that you would like to move your artifact(s) to.
- Click on 'Promote'.
- A pop-up screen appears. Enter the credentials to your target environment. This includes an Organization Secret and a User Secret.
- Validate the keys and click 'Promote'.
- While the job is in progress, you can:
- Stop the process of promoting. This will revert the job and update its status on the landing page.
- Stay on the page or perform different activities on another page of the account.
- Cancel the promote job while the job is still running. While promoting, the time that is taken to move artifacts depend on the size of the artifacts. If you click on the Cancel button while the job is still running and by then some of the assets in the artifact have already been moved, then you can view the upload status (Complete or Failed) of every asset in the artifact. It is now up to you whether you want to keep the moved assets and not bother with the others or cancel all uploads and go back to how it originally was. See About Dependent Artifacts below for more information.
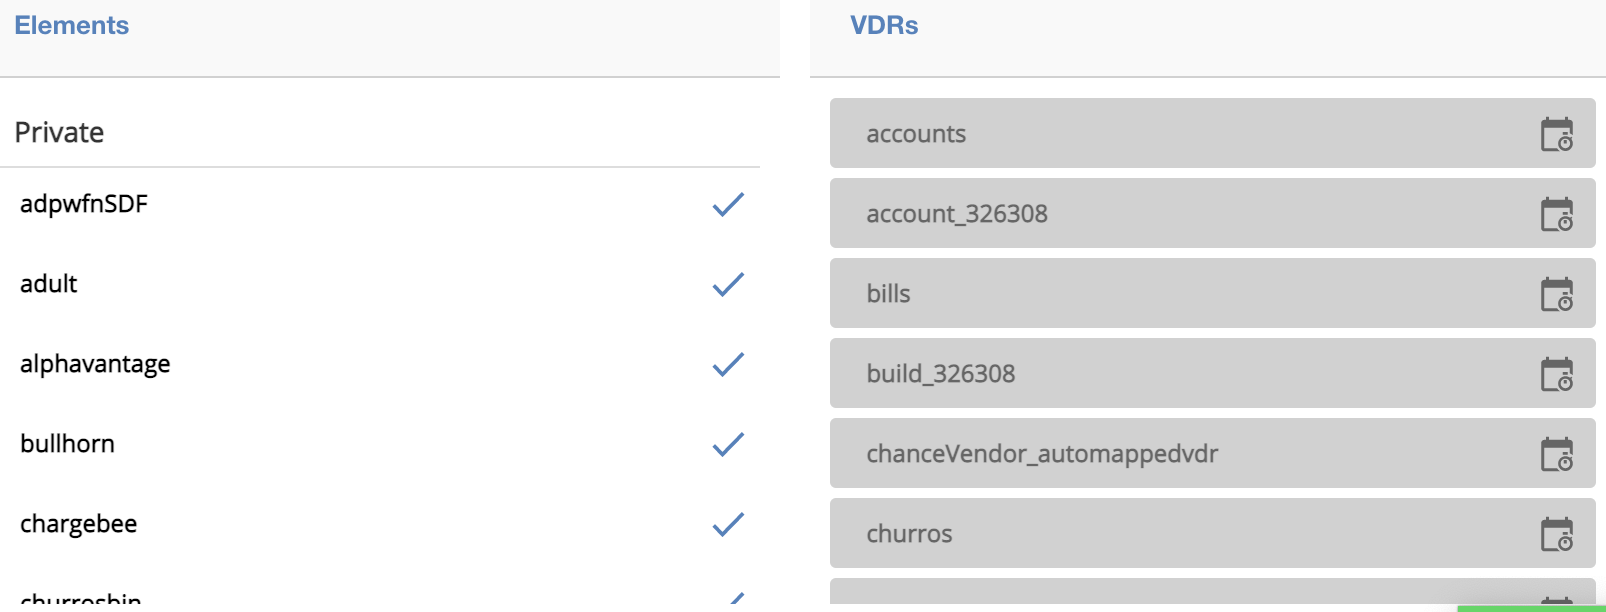
- If you have any dependent artifacts, a banner appears, allowing you to display the artifacts and their specific dependencies. If so, you can select Show missing artifacts in order to view and select the artifacts you want to promote. Click Promote. All dependent artifacts will get promoted to the target environment, along with the artifacts you wanted to promote. See About Dependent Artifacts below for additional information.
Custom Branding
Custom branding is applicable for all White labeled partners or anyone who has enabled custom branding for their account. Users with custom branding should update the user profile menu options under branding page to get the Manage Environments feature visible to their users.
About Dependent Artifacts
When working with elements, virtual data resources, and formulas, your use case may involve dependencies between your artifacts, meaning that the artifacts must be present alongside the other artifacts that allow them to function properly. For example, if you want to promote a Formula that makes use of a VDR and a private element, you would need to promote the other artifacts—that is, the VDR and the private element as well.
When importing, exporting, and promoting artifacts between environments, you may be prompted that your selected artifacts have dependencies on other artifacts that are not included in your selection; if so, you can click Show missing artifacts on the resulting banner to display, and select to include, any artifacts necessary to the proper function of your selected dependent artifacts.
In some cases, the necessary artifacts will themselves be dependent on other artifacts; if these "cascading" dependencies exist among your selected artifacts, you may need to also include the highest-level artifacts to ensure proper functionality. The yellow banner indicating dependencies will not disappear until no remaining selected artifacts are missing the artifacts on which they are dependent.
