Follow these steps to set up a Weebly application with the endpoint.
Before you can use the portal, you need to create a developer account. You also need to create a web site to test your applications or themes.
If you don't already have one, create a basic Weebly account. Visit weebly.com, create your account, and create a test web site. Once your account and site are created, access the Developer Admin portal from dev.weebly.com (click Admin Login) and log in.
The dialog displays the name and email associated with your standard account. By default, these will be used for your developer account. Add the following information that will be used to create your App card in the App Center:
- A description about yourself. This will display on your App card in the App Center.
- The URL to your web site. This is where you want your customers to visit for more information about your app, your other products and services, your company, etc.
- An optional phone number.
Accept the Developer agreement and save your information. The Developer Admin portal page displays your account. From this point on, when you log into the Developer site, your Developer Admin portal will display.
Please review the steps necessary to create your Weebly App.
Weebly requires a zip file be uploaded to their Admin Dashboard with a manifest.json file indicating the app file structure.
Example manifest.json
    ////////////////////////////////
    ///////BASIC APP STRUCTURE//////
    ////////////////////////////////
{
    "manifest": "1",
    "client_id": "INSERT_CLIENT_ID",
    "version": "2.0.0",
    "manage_app_url":   "https://mycoolapp.com",
    "callback_url": "https://mycoolapp.com/auth",
    "oauth_final_destination": "editor",
    "locale": {
        "default": "en-us",
        "supported": ["en-us"]
    },
    ////////////////////////////////
    ////WITH WEBHOOKS (OPTIONAL)////
    ////////////////////////////////
    "webhooks": {
        "callback_url": "https://console.cloud-elements.com/elements/api-v2/weebly/events",
        "events": ["store.product.create", "store.product.update", "store.product.delete",
        "store.cart.create", "store.cart.update"]
    }
}
Review how to configure the Manifest for OAuth.
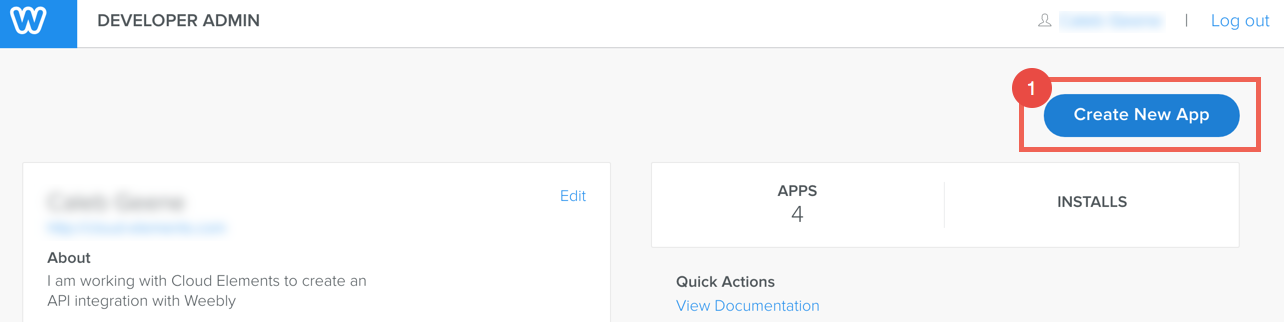
Click “Create New App”.
Name the App and select category
Click “Save”

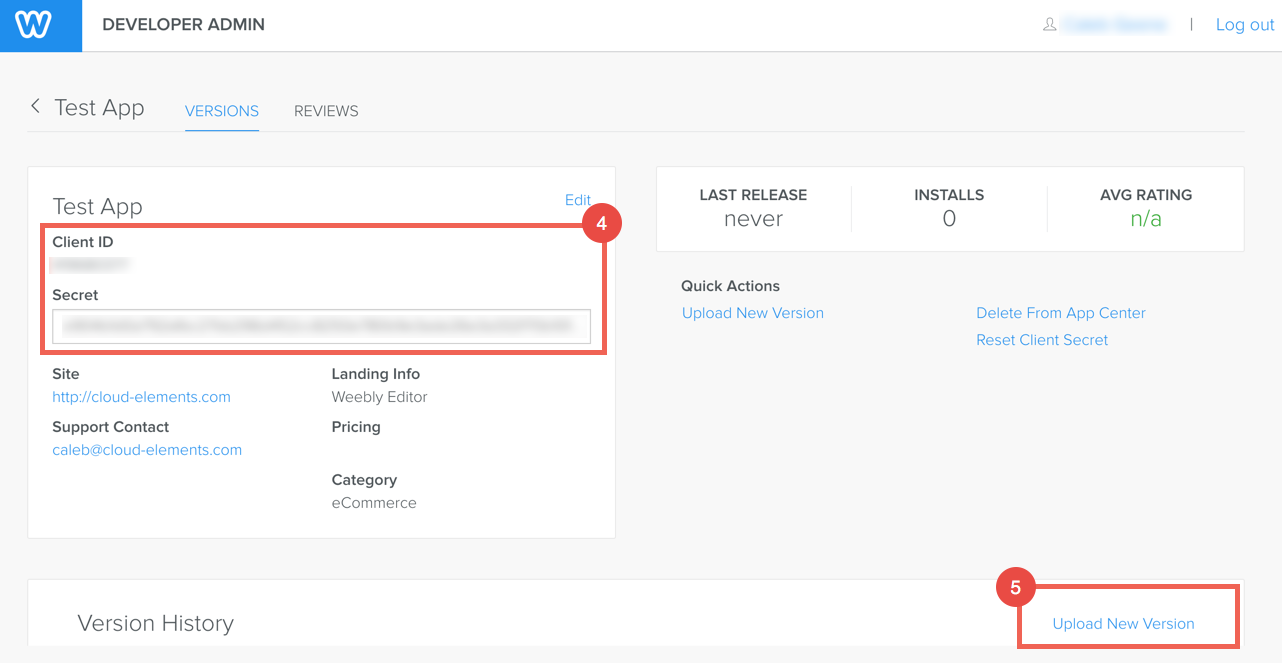
Copy the Client ID and Secret
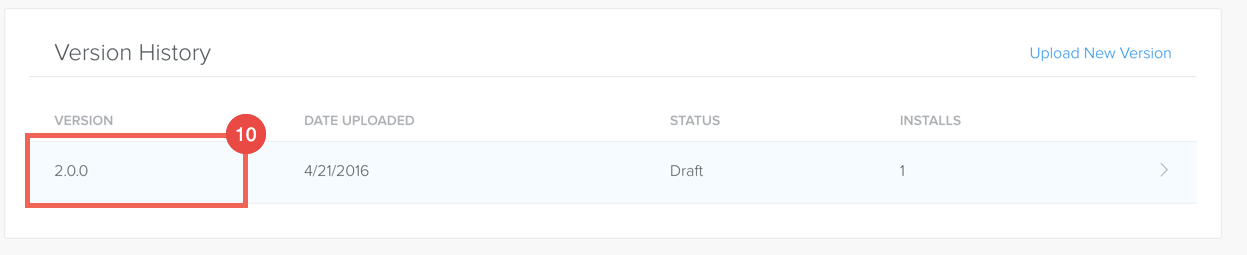
Click "Upload New Version"
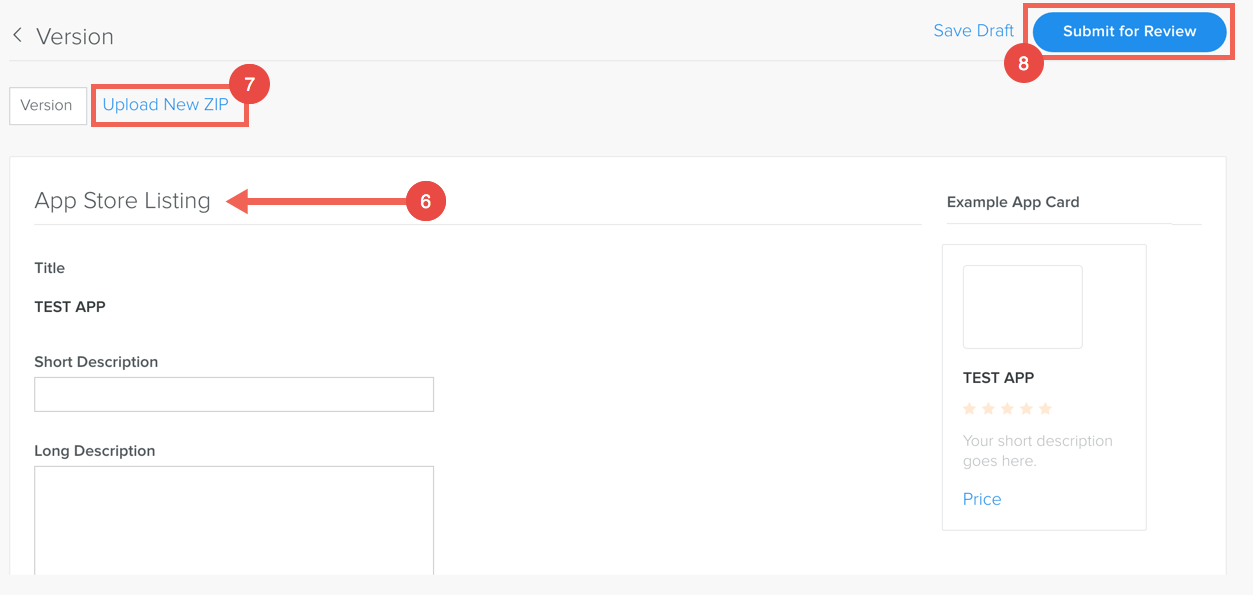
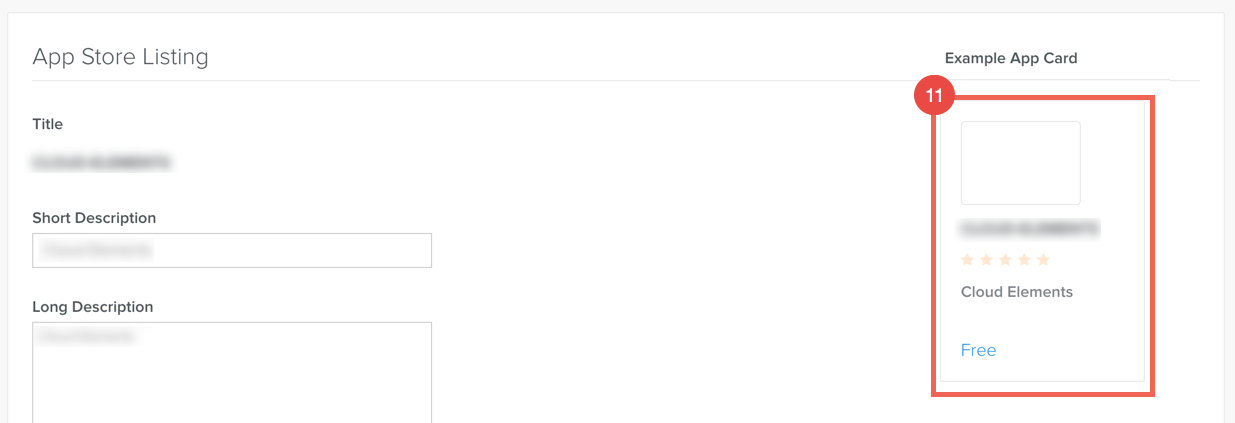
Input App Store Listing Info
Click "Upload New Zip" > the compressed
manifest.jsonClick "Submit for Review"
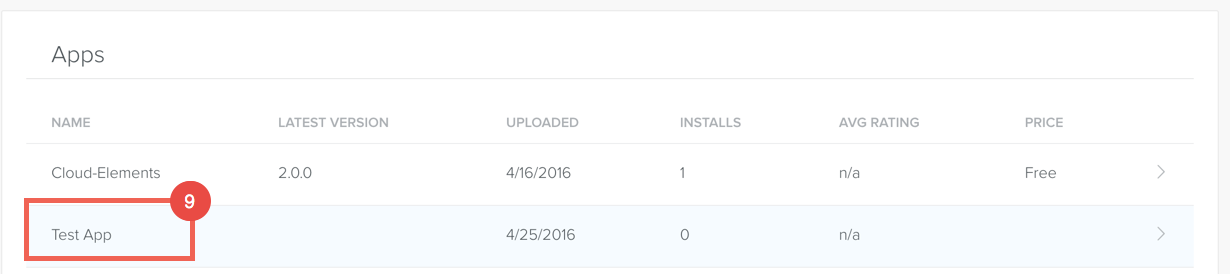
From the Admin Dashboard, select the app
Select the appropriate version
Click the App Card
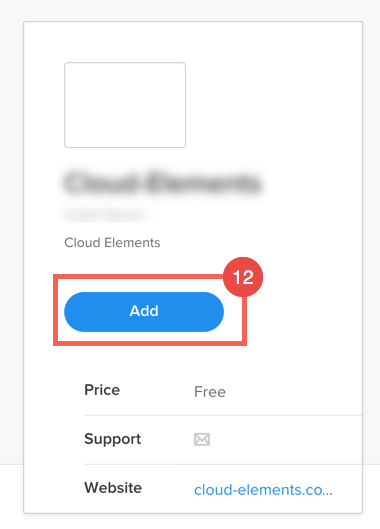
Click "Add"
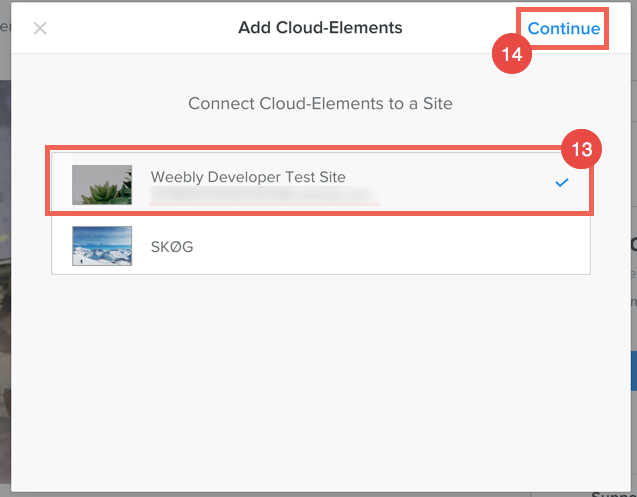
Select A Site
Click "Continue"
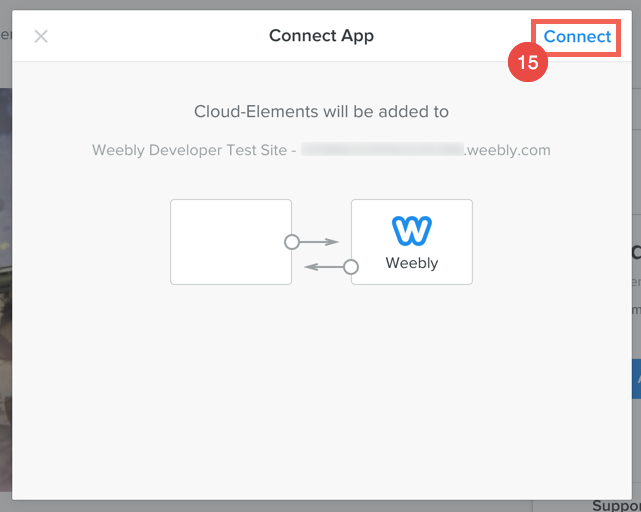
Click "Connect"
This Connection will kick off the OAuth process needed to provision a Weebly Instance.
