With HubSpot, if you have a custom field that does not have a value, HubSpot excludes it from the response as they send it to Cloud Elements. This is not omitted on our side.
Authentication
- HubSpot supports two different authentication mechanisms: API Key (Basic) and OAuth 2.0.0. When you authenticate an instance and include the HubSpot Portal ID, you use the latest OAuth 2.0 authentication.
- If you intend to use the new OAuth 2.0, you must also provide scope. In Sandbox or developer accounts, HubSpot Marketing will never have appropriate scope to authenticate an instance. To authenticate an element instance with a HubsSpot Marketing trial account, you must create your own connected app with limited scope. See Scope below and Authenticate for more information about how to pass scope when you authenticate with HubSpot.
Scope
When users authenticate an element instance, they authorize your app to access the data allowed by the scopes that you pass to HubSpot. The user and their associated account must have access to all scopes that you pass. In addition to user permissions, HubSpot includes two types of scopes based on account level: Marketing only and Marketing and CRM.
| Marketing Only | Marketing and CRM |
|---|---|
| content | contacts |
| reports | timeline |
| social | files |
| automation | |
| forms | |
| hubdb For website add on | |
| transactional-email For Transactional-email add on |
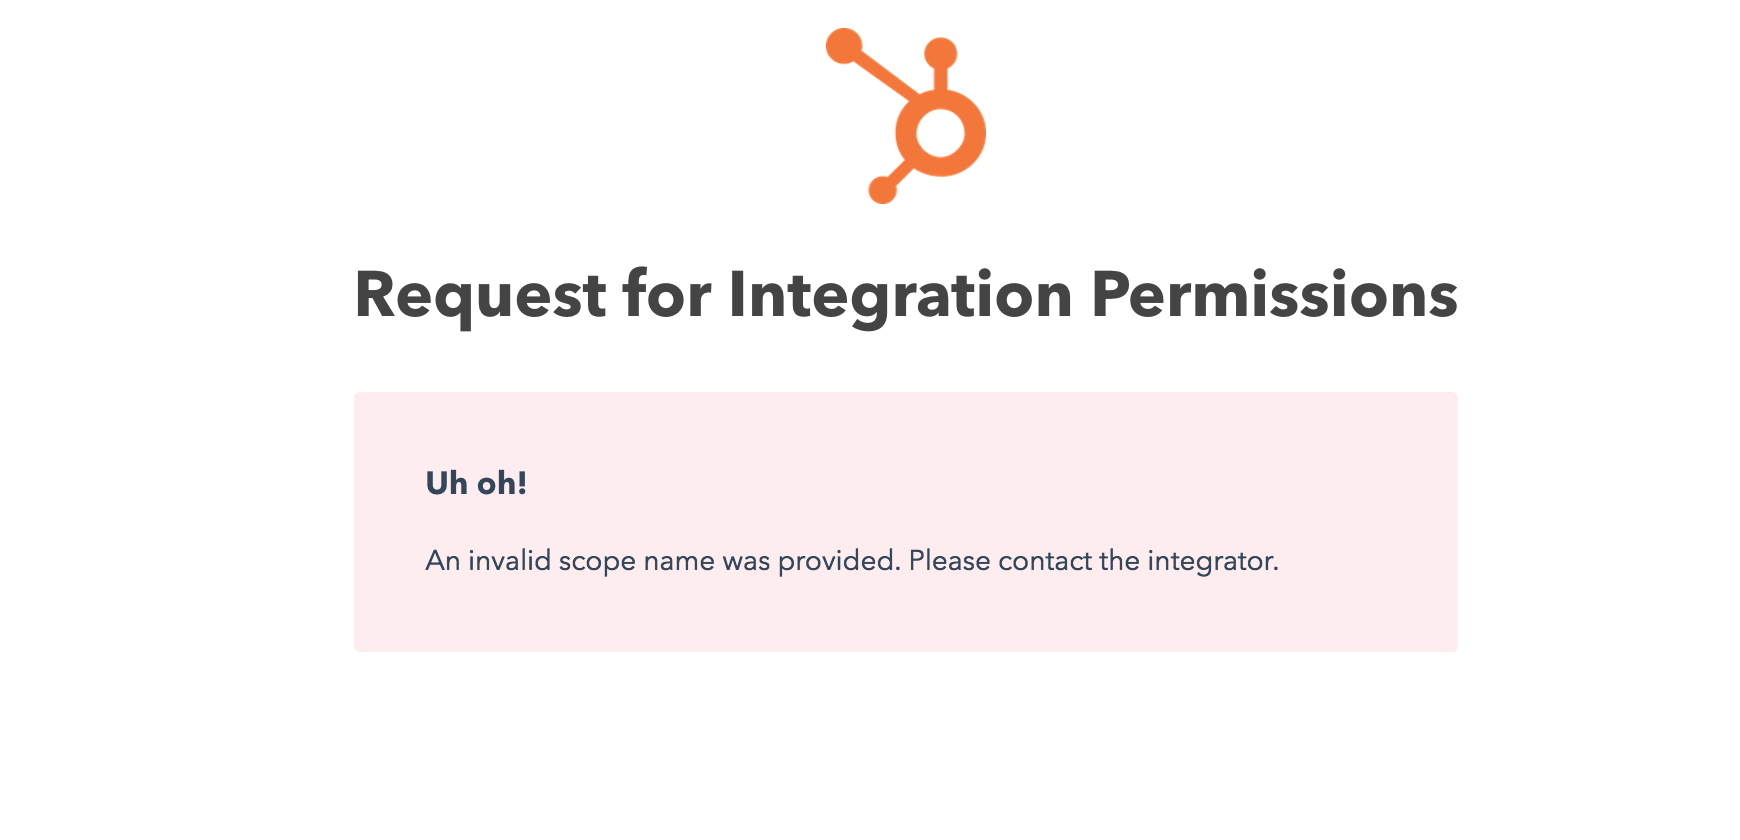
If you receive the following error message when authenticating, verify that the scopes you pass as part of authentication, the scopes selected in your registered app, user permissions, and account type scopes align. See Authenticate for more information about how to pass scope when you authenticate with HubSpot.

Review the HubSpot OAuth 2.0 scope documentation for the complete list of scopes.
Bulk
- If you are trying to use Bulk upload to migrate data, you must provide the following metadata tag in the body, {"useBatchUpload": "true"}. If you do not provide this tag, it will upload one at a time.
- If one batch fails, then all will fail.
- HubSpot has a limitation where if too many properties exist the URL becomes too long for a request for all properties. Customers must map the properties they need to a common resource to leverage bulk for the object in question.
Why Use a HubSpot Test Account
HubSpot can be confusing in part because trial accounts and test accounts look exactly the same. Trial accounts expire in 30 days and you have to manually upgrade to other levels to access certain features, many of which expire even quicker. This is different from a test account, which has all the features of a full Enterprise Account, expires in 90 days, and can be renewed with a single click.
For more information, see HubSpot docs on creating test account:
https://developers.hubspot.com/docs/faq/how-do-i-create-a-test-account
Creating a HubSpot Test Account
To create a new HubSpot test account, complete these steps:
- Login to HubSpot with a developer account at https://app.hubspot.com/login
- You might have an email address with multiple accounts under it (free accounts, upgraded free accounts, test accounts, and developer accounts)
- Navigate to https://app.hubspot.com/signup/developers to create a new developer account or select an existing developer account.
- You will know you are logged in as a developer account by the limited toolbar that shows only Apps, Testing & Resources:
- From there, click "Testing" from the menu.
- If no other test accounts exist under this developer account, click “Start Testing“ or if there is already a list of test accounts, you can click “Create test hub ID” from the top right to create a new empty account (no contacts, not forms, no workflows, etc.).
- Give your test hub a name.
- The test hub that is created has full access to Enterprise versions of the HubSpot Marketing, Sales, and Service Hubs which include things like workflows, forms, and landing pages. Test accounts expire after 90 days but can be renewed by revisiting the developer account that you created it under and clicking the Renew button in the row for the account. Renewing an account sets it to expire 90 days from when you click the renew button. Expired accounts can be renewed up to 90 days after they originally expired.
- Creating other test accounts is done the same way: login with a user, visit the developer account, go to Testing, and click “Create test hub ID”:
- After you have created a test account, it will show in the accounts list alongside all other accounts. This list is shown when you first login to HubSpot (or are selecting an account during OAuth).
- The test account has all features enabled (no lock symbols on the menus):
Webhooks
- If you want to configure webhooks, you must manually configure them in HubSpot. Visit https://developers.hubspot.com/docs/methods/webhooks/webhooks-overview for more information.


