To authenticate a Microsoft Graph element instance you must register an app with Microsoft. Then when you authenticate, use the Application Id, Password/PublicKey, and Redirect URL from your registered app as the API Key, API Secret, and Callback URL. If you plan to monitor events, also configure the Webhook URL.
If you've already set up an app and just need to know how to find your Application Id and Password/PublicKey, see Locate Credentials for Authentication. If you need to register an app, see Create an Application.
See the latest setup instructions in the Microsoft documentation.
Locate Credentials for Authentication
If you already created an application, follow the steps below to locate the Application Id, Password/PublicKey, and Redirect URL. If you have not created an app, see Create an Application.
To find your OAuth 2.0 credentials:
- Log in to your account at Microsoft.
- Click the application that you want to connect.
- Record the Application Id.
- If you don't know the Password/PublicKey, click Generate New Password to get a new one and record it.
- Record the Redirect URL for your app.
Create an Application
If you have not created an application, you need one to authenticate with Microsoft.
To create an application:
- Log in to your account at Microsoft.
- Click Add an App.
- Enter a name, and then click Create
- Record the Application Id.
Under Application Secrets, click Generate New Password, record the Password/PublicKey, and then click OK.
Important: You cannot show the Password/Public Key again, so you will need to generate a new one if it's lost.Under Platforms, click Add Platform, and then select Web.
In Redirect URLs enter the URL to redirect the user to at the end of the OAuth 2.0 authentication process. For example, the Cloud Elements 2.0 callback URL is
https://auth.cloudelements.io/oauth.Under Microsoft Graph Permissions add the permissions needed to use your app. See Permissions for details.
Save your app.


Permissions
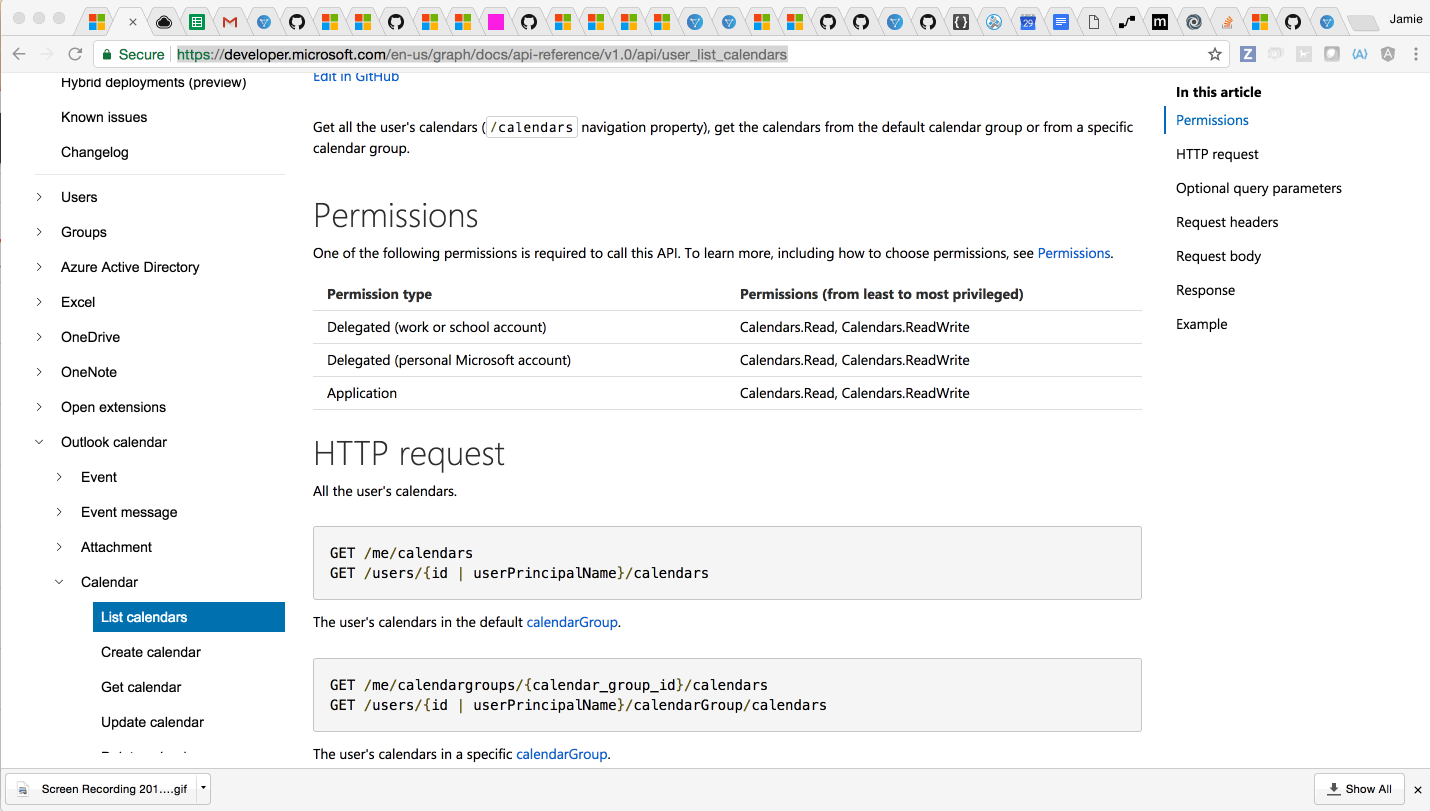
When creating your app be aware of the permissions that you set. Each resource requires specific permissions. For example, the Calendar resource requires:
| Permission Type | Permissions |
|---|---|
| Delegated (work or school account) | Calendars.Read, Calendars.ReadWrite |
| Delegated (personal Microsoft account) | Calendars.Read, Calendars.ReadWrite |
| Application | Calendars.Read, Calendars.ReadWrite |
For more information see: https://developer.microsoft.com/en-us/graph/docs/api-reference/v1.0/api/user_list_calendars.
When setting up your app, in the Delegated Permission section you need:
- Calendars.Read
- Calendars.ReadWrite
In addition, to authenticate you need:
- Delegated Permission: Users.Read.All (if an admin Users.Read)
- Delegated Permission: Users.ReadWrite.All (non-admin Users.ReadWrite)
- Application Permissions: Users.Read.All
- Application Permissions: Users.ReadWrite.All.