Before you can authenticate an instance of the Google Cloud Storage element, you must set up API credentials and create a bucket.
Receiving Authorization Credentials
- Access console.cloud.google.com and sign in with your Google credentials.
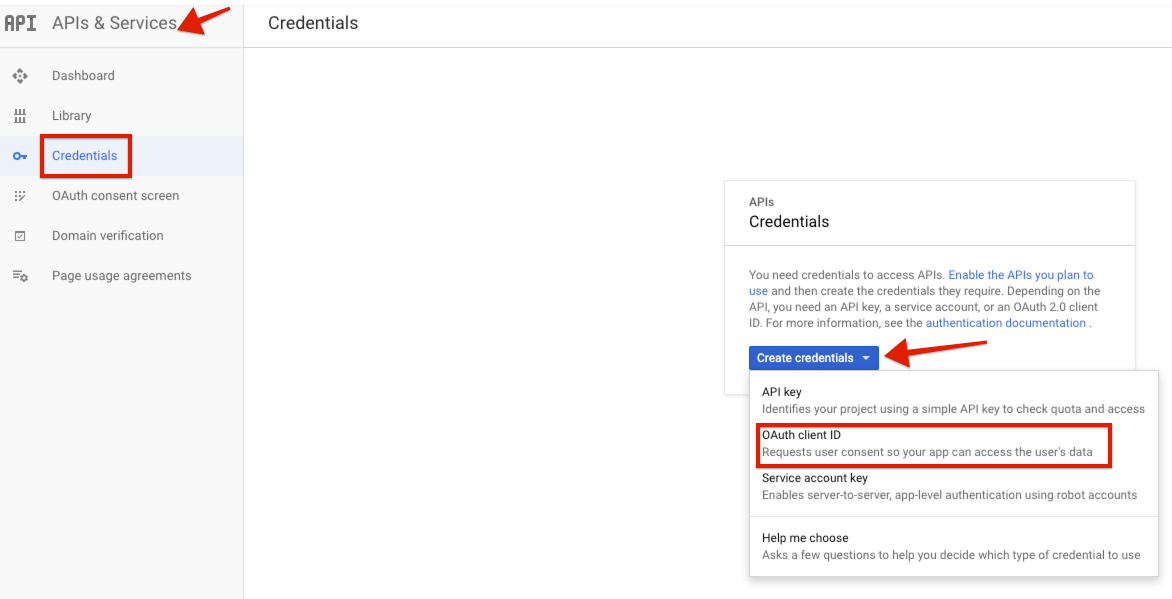
- On the navigation panel on the left side, click 'APIs & Services'.
- Create a new project. Enter the 'Project Name'. Enter your organization. Click 'Create'.
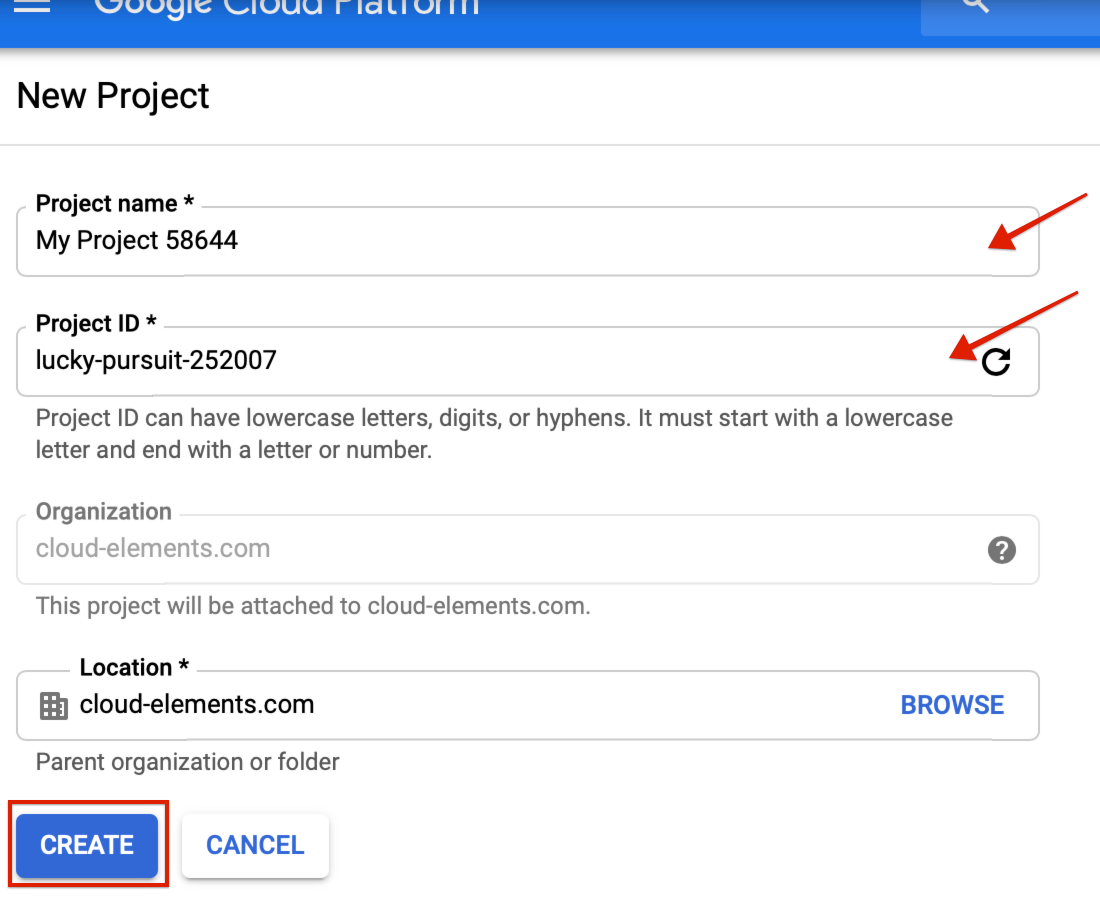
- You have created a Project. Locate your 'Project ID' in the Project Info section under the Dashboard tab.
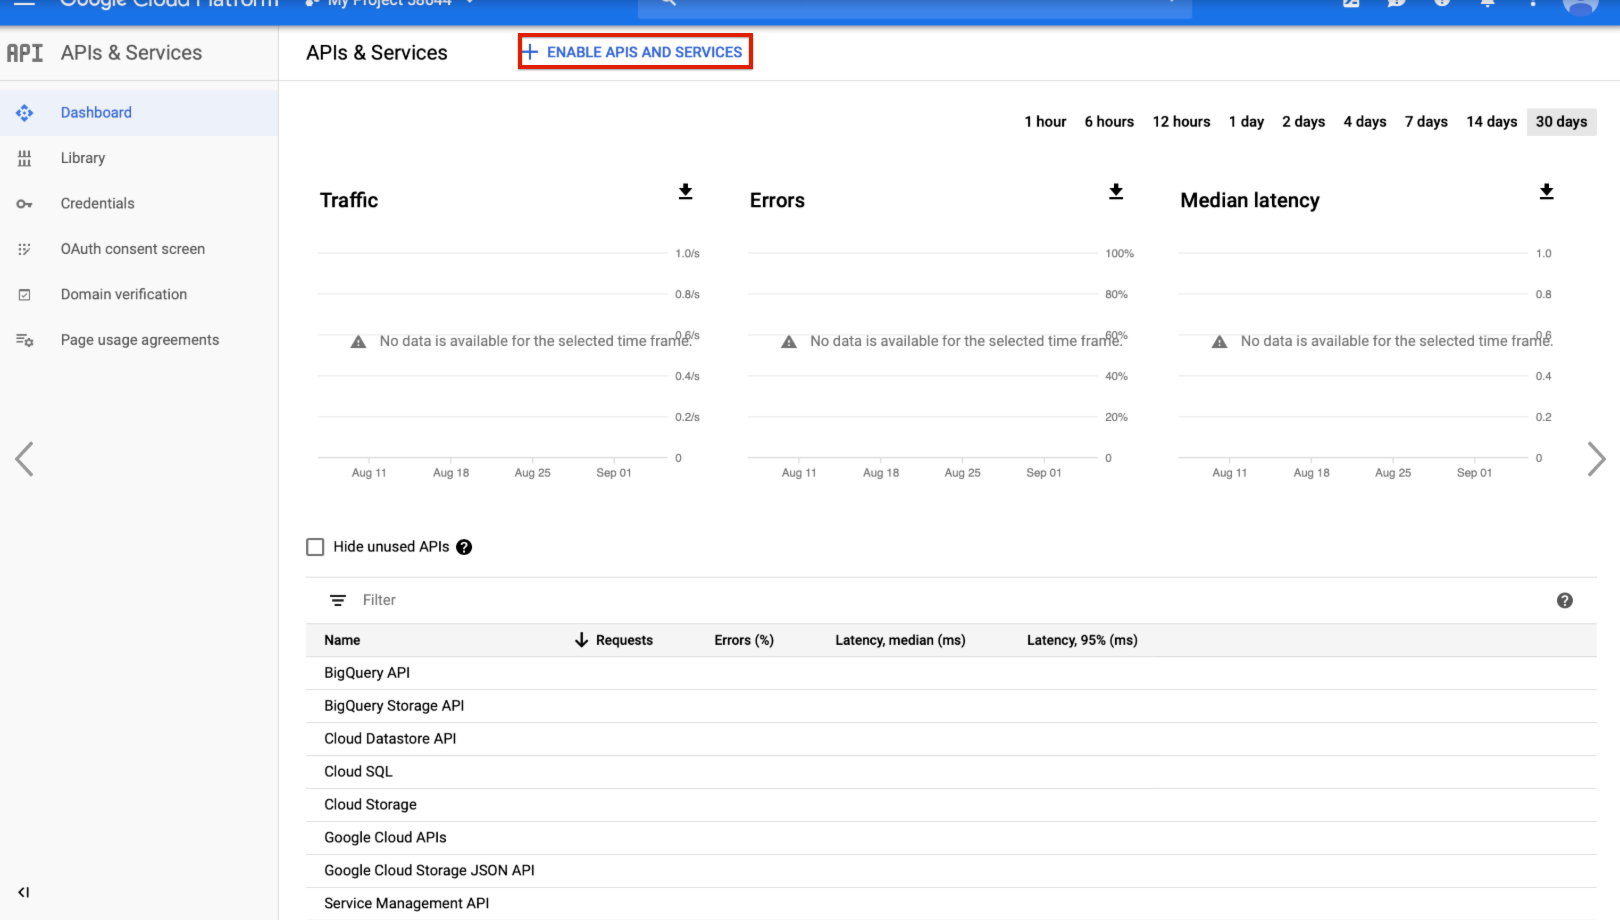
- Head back to the 'APIs & Services' page, as in step 2. Click 'Enable APIs and Services'.
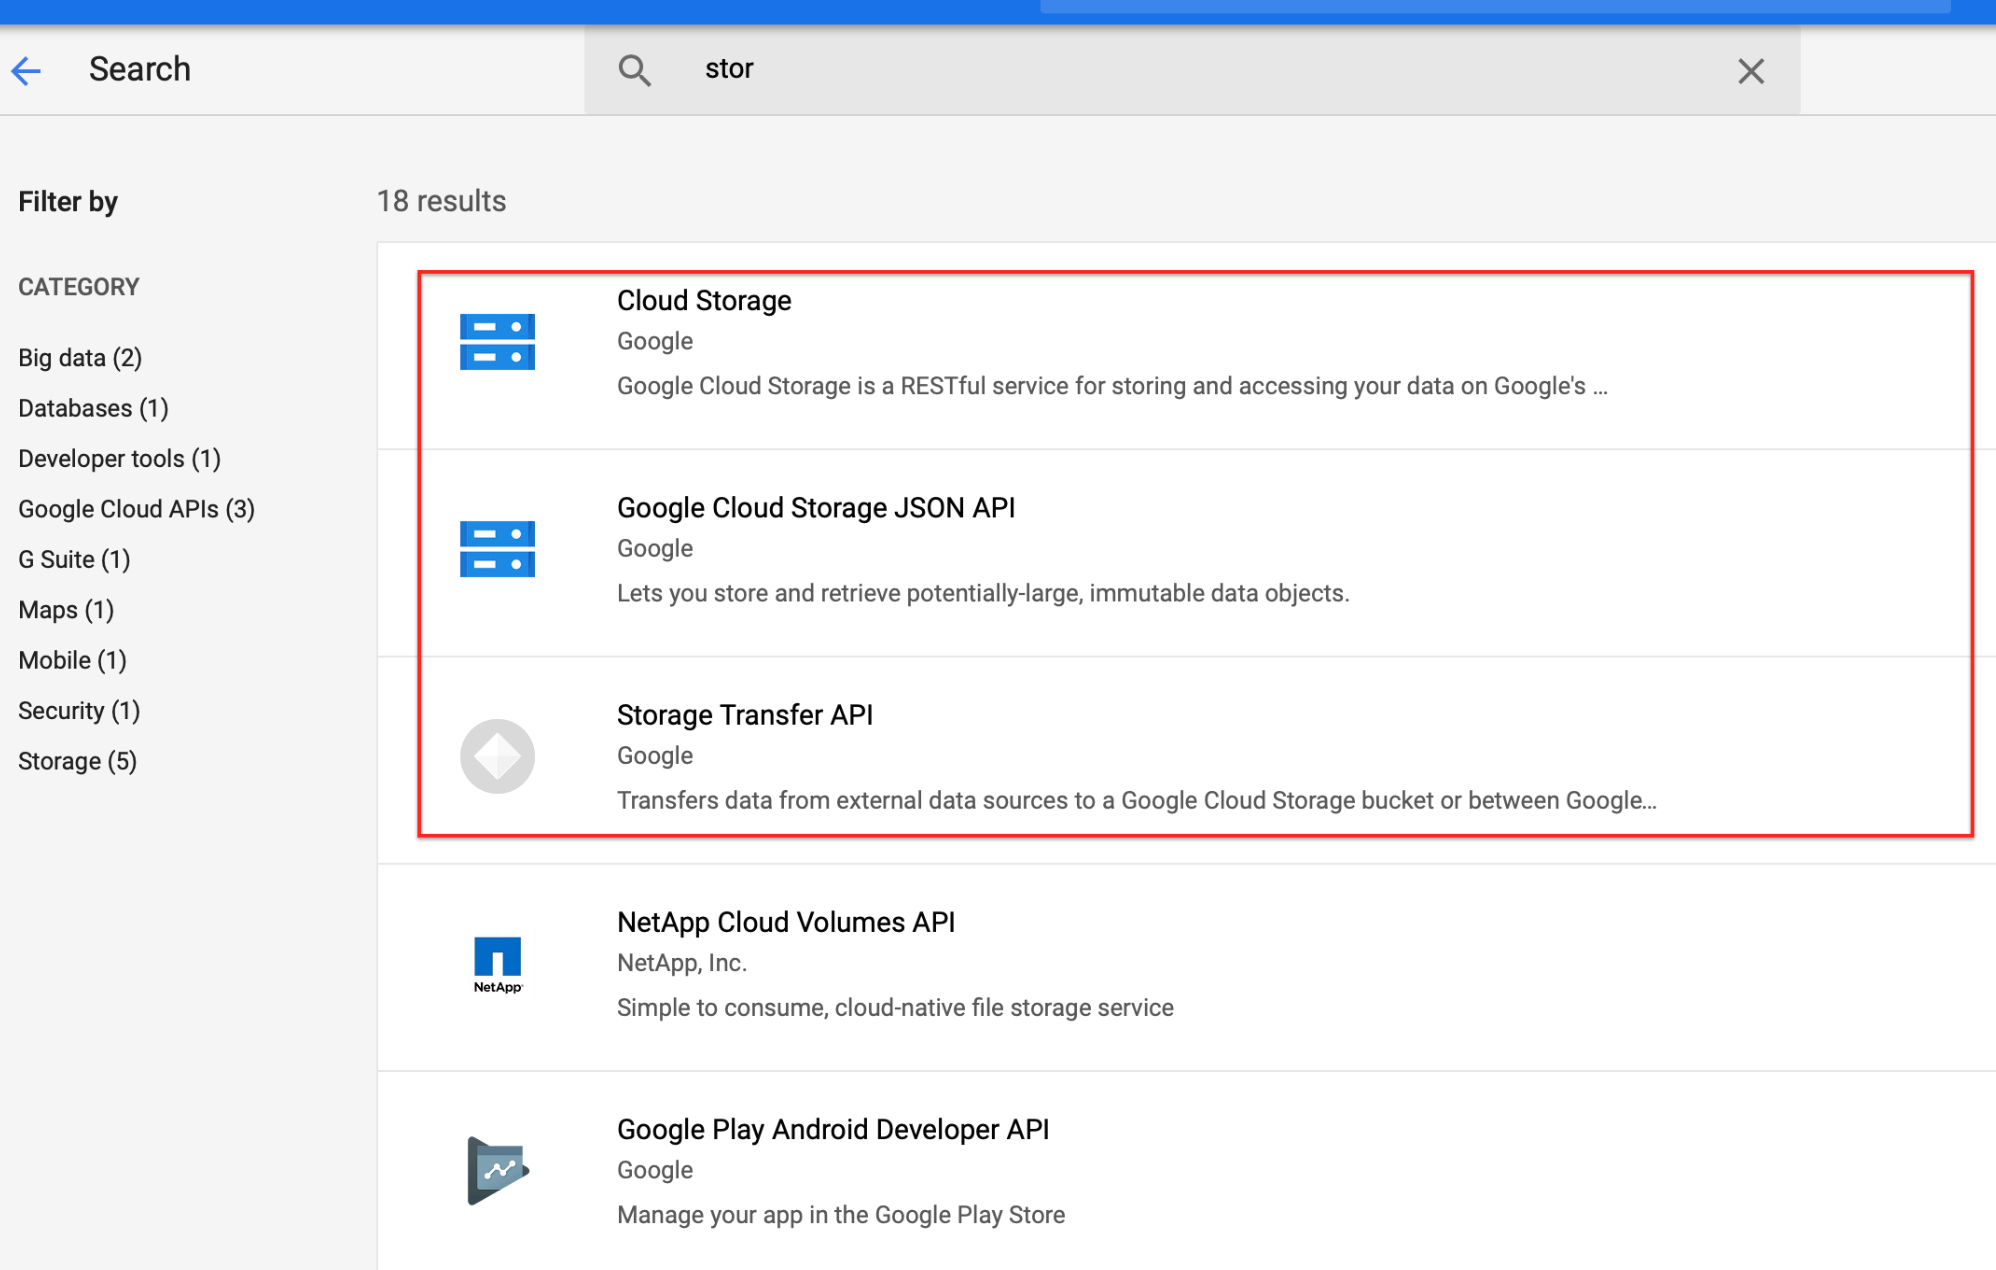
- Search for 'Storage' APIs and enable whichever APIs fit your use-case. Some examples are shown below.
 In the below example, we are enabling the 'Google Cloud Storage JSON API'.
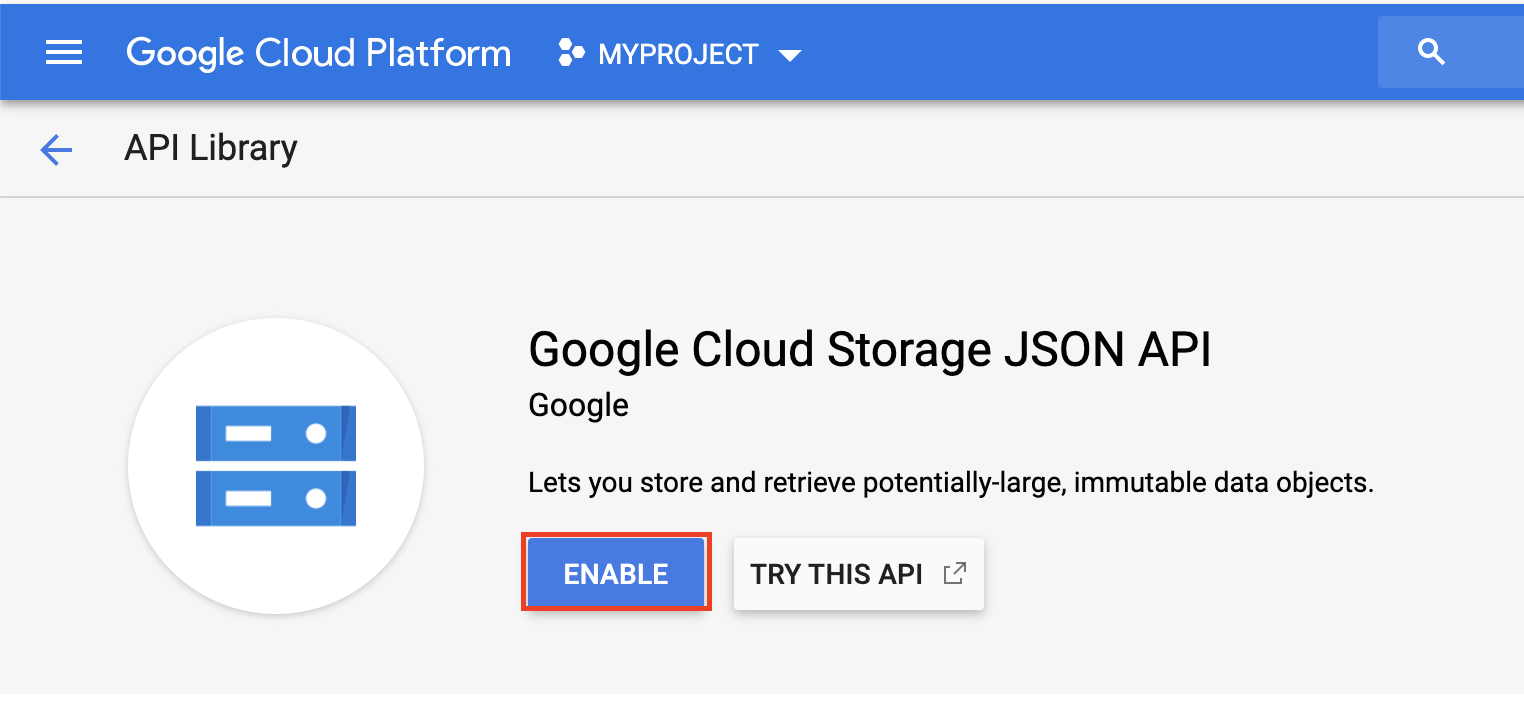
- Next, on the navigation panel, click 'OAuth Consent Screen'.
- Enter the details of your project in the console that appears next and click Save or Submit for verification.
- Click 'Credentials' > 'Create credentials' and then 'OAuth client ID'.
- Select Web Application as the application type on your next screen. Once you enter the name of the application and the redirect URI, click Create.
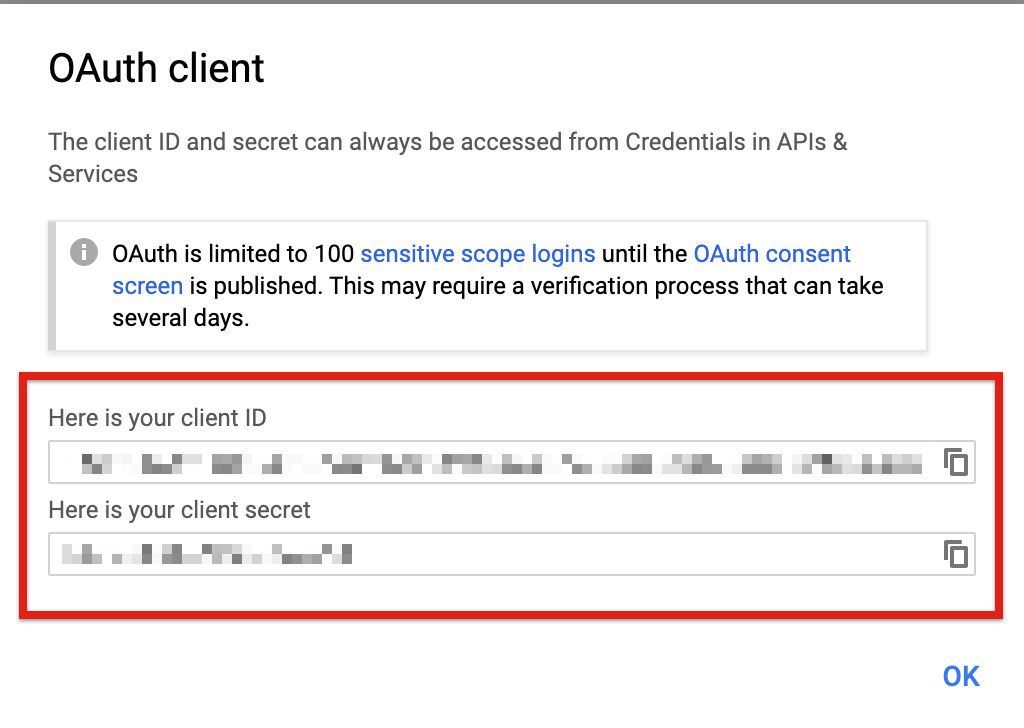
- You will receive the OAuth credentials.


 In the below example, we are enabling the '


Creating a Bucket
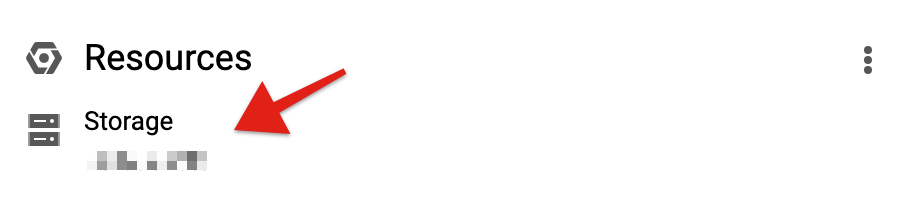
- On the Dashboard tab, in the Resources section, click 'Storage'.
- Click on the Create Bucket button in the page that opens.
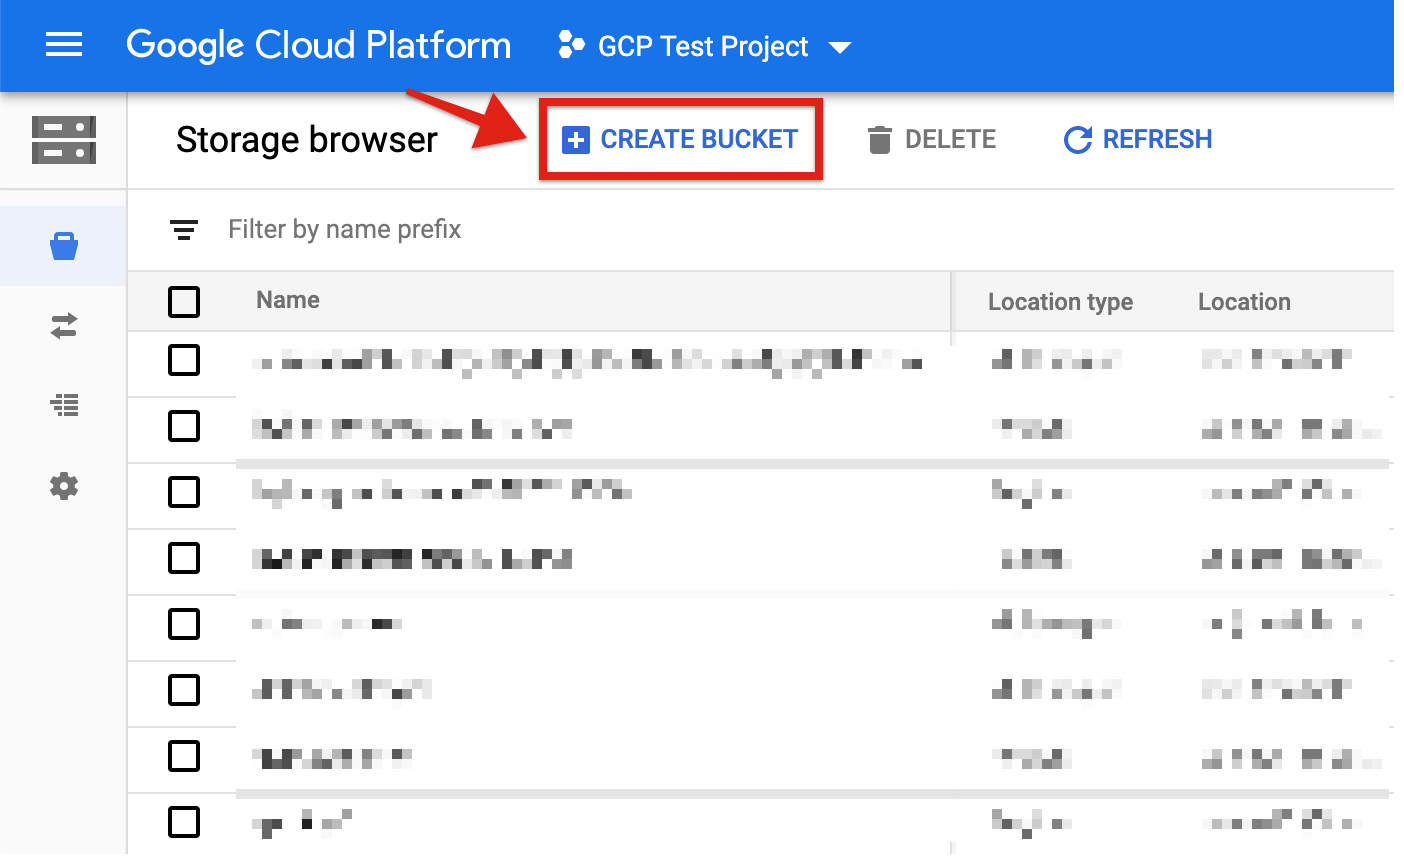
- Configure the details of your bucket in the console that appears and click Create.
 Use the bucket name in the
 filemanagement.provider.bucket_nameparameter as identified in the Authenticate an Element Instance article.


 Use the bucket name in the