
Authentication Prerequisites
The Microsoft Dynamics CRM Rest element uses the OAuth2 authentication workflow. Before you can authenticate an instance of the Microsoft Dynamics CRM Rest element, you need the following:
Provider Account, App, and Oauth information
To set up the Microsoft Dynamics CRM endpoint, you need to have an account and create or already have an app. Also, to authenticate with OAuth 2, you need to know the Client ID and keys for the app. If you use custom authentication when you provision an element, you do not need the Client ID and keys for the app. Dynamics versions 2013-2015 are supported by the MS Dynamics 2015 SDK.
Note: Microsoft provides the most up-to-date and detailed setup instructions at Microsoft Dynamics 365 Web API; legacy versions of the docs are available here.
To create an app and acquire OAuth information:
- Log in to your MS Dynamics account.
Navigate to the Admin Center, expand Admin Centers, and then click Azure AD.
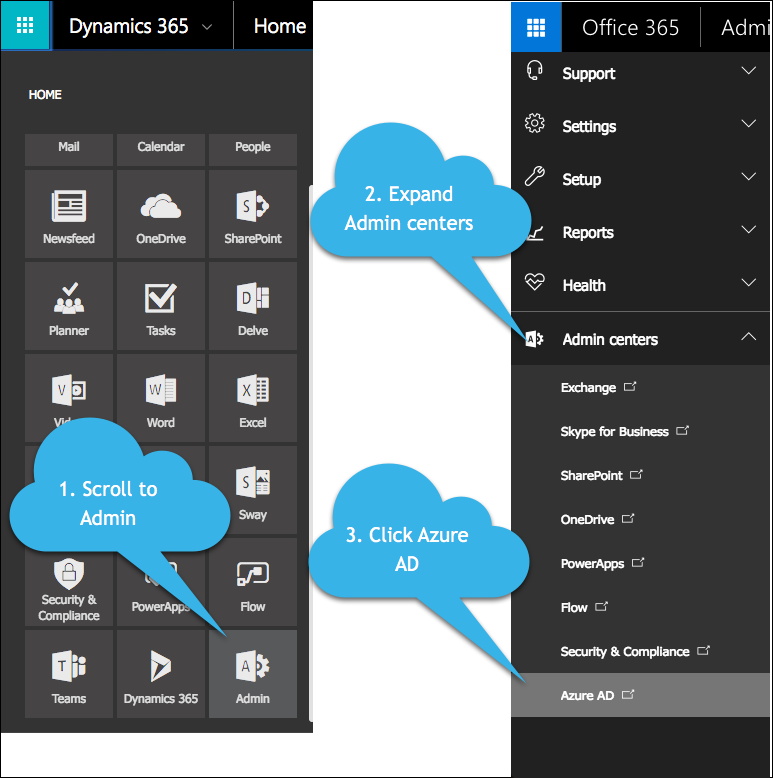
Select your directory, and then click Applications.
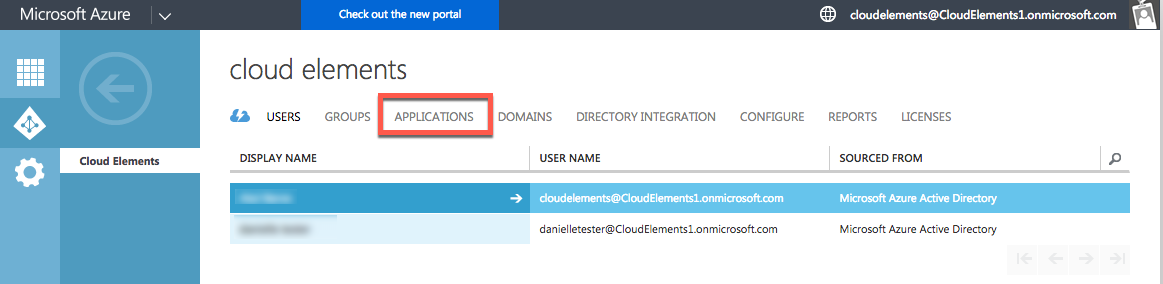
Select your application from the list, or create a new application (click
 in the page footer).
Complete the configuration, paying close attention to the following for OAuth authentication:
- keys: Use the key value when you provision an element using OAuth authentication as the OAuth Client Secret in Azure AD or
oauth.api.secret. - CLIENT ID: Used when you provision an element using OAuth authentication as the OAuth Client ID in Azure AD or
oauth.api.key. - permissions to other applications: Permissions shown when you provision an instance with OAuth authentication.
- keys: Use the key value when you provision an element using OAuth authentication as the OAuth Client Secret in Azure AD or
Note: The key value for OAuth Client Secret in Azure AD appears only after you save the configuration and only one time. You will not be able to retrieve the key value later, so capture it immediately after you save.
Click
 in the page footer.
Go to the keys section and capture the key value for OAuth Client Secret in Azure AD.


 in the page footer).
 in the page footer.
Required Authentication Parameters
You can authenticate an element instance using the UI or via API calls. For detailed information on how to authenticate an instance, see our related documentation:
To authenticate an instance of the Microsoft Dynamics CRM Rest element, you will need the following parameters:
| Parameter Name/UI Value | API Value/Key | Description | Source |
|---|---|---|---|
| OAuth API Key | oauth.api.key | The OAuth Client ID you were provided when creating the app. | |
| OAuth API Secret | oauth.api.secret | The OAuth Client Secret you were provided when creating the app. | |
| Microsoft Dynamics CRM Tenant URL | site.url | The Microsoft Dynamics Tenant URL for your account. | To retrieve your tenant URL:
|
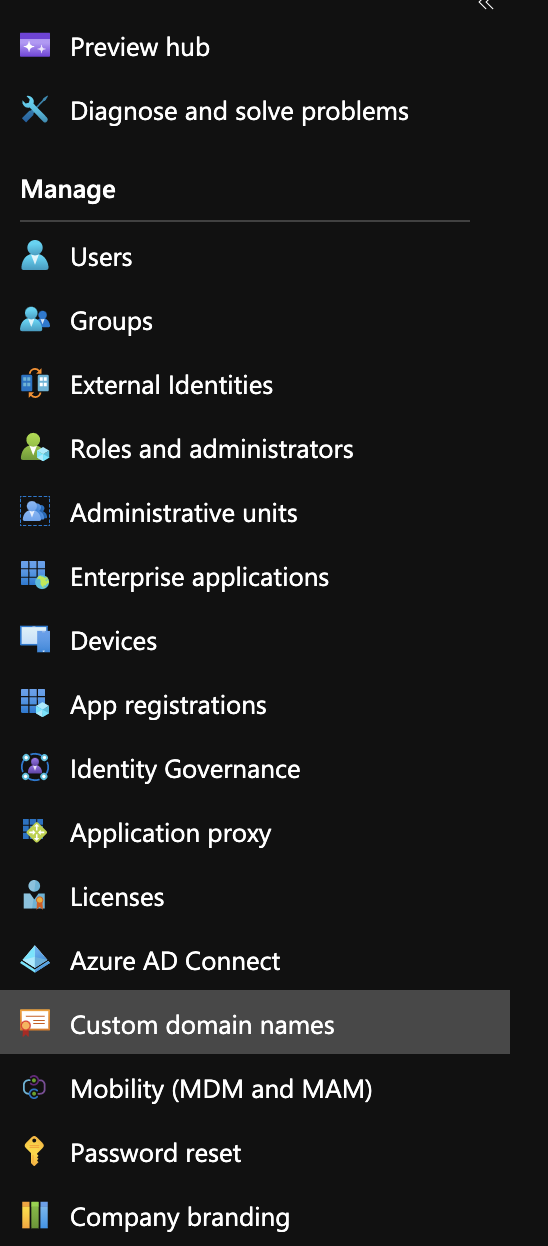 Your tenant URL is the primary domain listed.
Sample Configuration JSON
"configuration": {
    "oauth.api.key": "f8yd98ys90983y98sygouegyaoig",
    "oauth.api.secret": "22sdoiw08f673820h098aseoiugi32",
    "site.url": "http://mycoolsite.onmicrosoft.com"
  }
Element Fact Sheet and Reference
Authentication and Configuration Parameters
To see all authentication parameters for the Microsoft Dynamics CRM Rest element, follow these steps:
- Sign in to Cloud Elements and navigate to Elements.
- Hover over the card for an element, and then click My Resources.

- In the top navigation toolbar, click Setup.
- From the Setup page, you can view a complete list of the element's authentication and configuration parameters.

Events and Supported Resources
The Microsoft Dynamics CRM Rest element supports events via webhooks. For detailed information about our Events framework and how to configure an element instance with events, see our documentation:
To set up Events for Microsoft Dynamics CRM Rest:
- Login via portal.azure.com/#home.
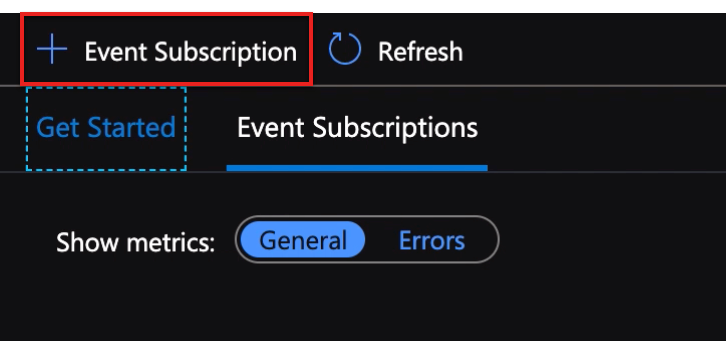
- On the navigation panel on the left, click Events.
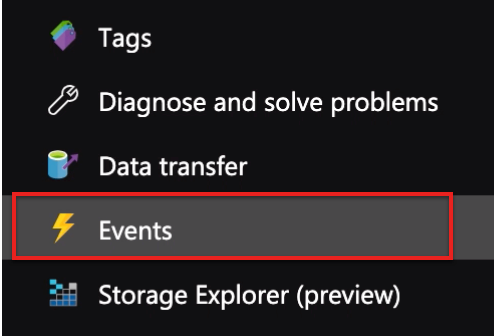
- The Events console appears. Click Event Subscription.
- Provide a name for your event.

- Select an Event Type.

- Select 'Web Hook' as your Endpoint Type from the drop down.

- Once you select Web Hook as your endpoint type, click Select an endpoint.

- Head to the Cloud Elements Instance Creation page, create an instance and then toggle the Events button On.
- Once Events is enabled, copy the Webhook URL.
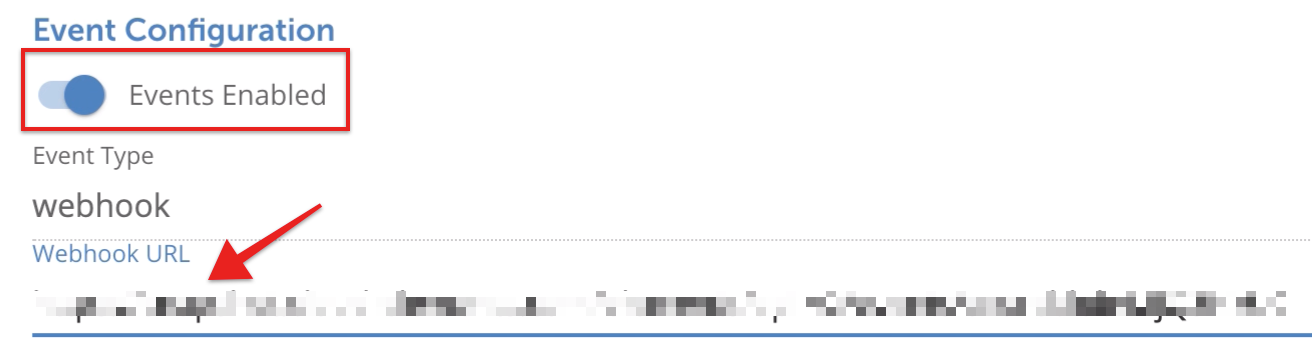
- Go back to the Azure Portal once again and paste this Webhook URL in the Subscriber Endpoint field.

- Click Create to create an event.


You have set up events for your instance via webhooks and will be able to see the new event you created on the Events console.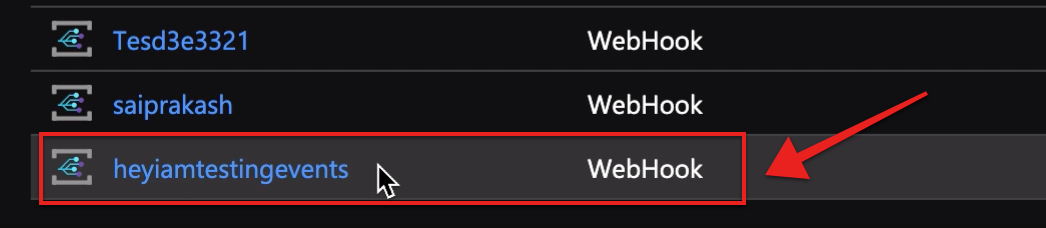
You can set up events for the following resources of the Microsoft Dynamics CRM Rest element:
- accounts
- contacts
- incidents
- leads
- lists
- opportunities
- products
- systemUsers
- tasks
- appointments
- campaignActivities
- campaignResponses
- campaigns
- customerRelationships
- emails
- letters
- listMembers
- phoneCalls
- relationshipRoles
- salesOrders
- activities
- invoiceItems
- invoices
- knowledgeArticles
- quotationItems
- quotations
- salesorderItems
Queryable Endpoints
You can use CEQL to query the following endpoints of the Microsoft Dynamics CRM Rest element:
- GET /account-leads
- GET /accounts
- GET /activities
- GET /appointments
- GET /bulk/jobs
- GET /campaign-activities
- GET /campaign-items
- GET /campaign-responses
- GET /campaigns
- GET /contacts
- GET /customer-relationships
- GET /emails
- GET /incidents
- GET /invoice-items
- GET /invoices
- GET /knowledge-articles
- GET /leads
- GET /letters
- GET /list-members
- GET /lists
- GET /{objectName}
- GET /{objectName}/{objectId}/{childObjectName}
- GET /opportunities
- GET /products
- GET /quotation-items
- GET /quotations
- GET /relationship-roles
- GET /sales-orders
- GET /salesorder-items
- GET /system-users
- GET /tasks
Element API Documentation
The base URL for all API requests is https://api.cloud-elements.com/elements/api-v2.
