
On this page:
Authentication Prerequisites
The Azure Blob element uses two custom authentication types - Shared Access Signature (SAS) and Shared Key. Before you can authenticate an instance of the Azure Blob element, you must do the following:
- Have an active subscription with Microsoft Azure platform
- Have a storage account within the Azure portal
- Generate required authentication credentials
Create Storage Account
- Login via portal.azure.com/#home
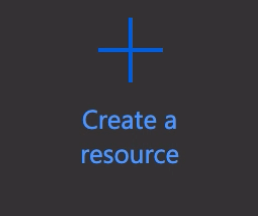
- Click on Create a resource.
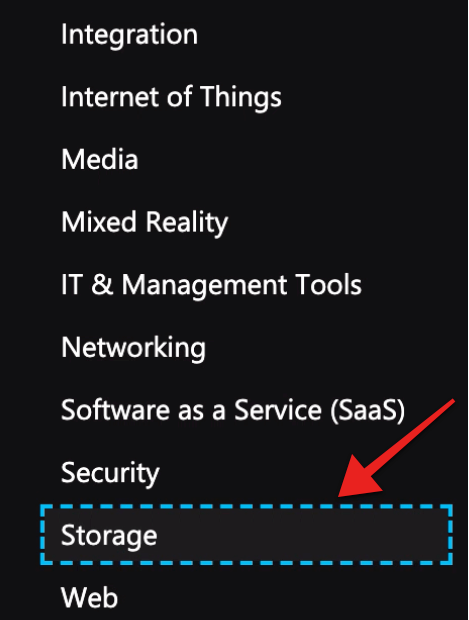
- On the Navigation Panel on the left, click Storage.
- Click on the Storage account.
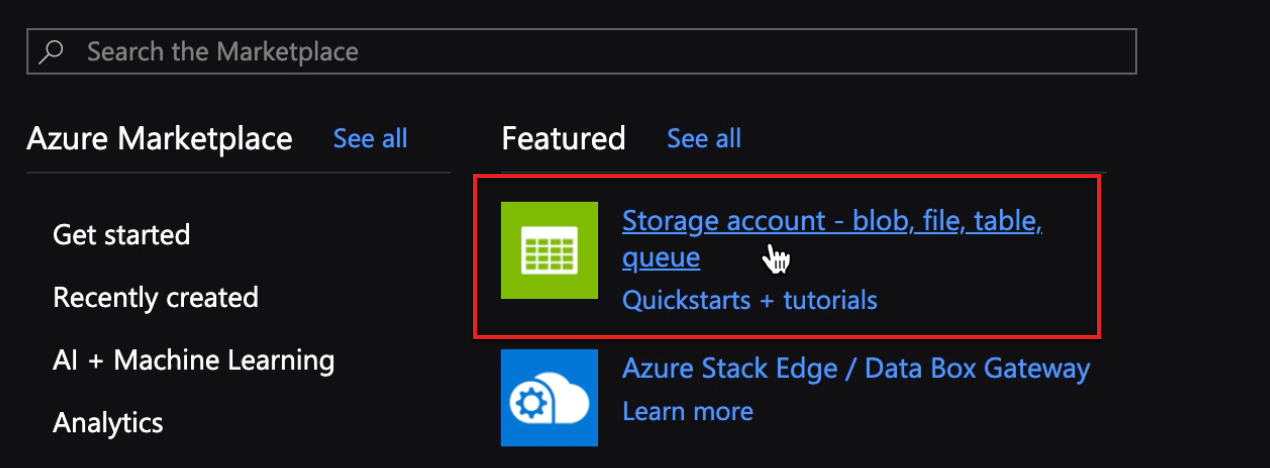


You have now created a new Storage account.
Locate Credentials for SAS Authentication
- Login via portal.azure.com/#home.
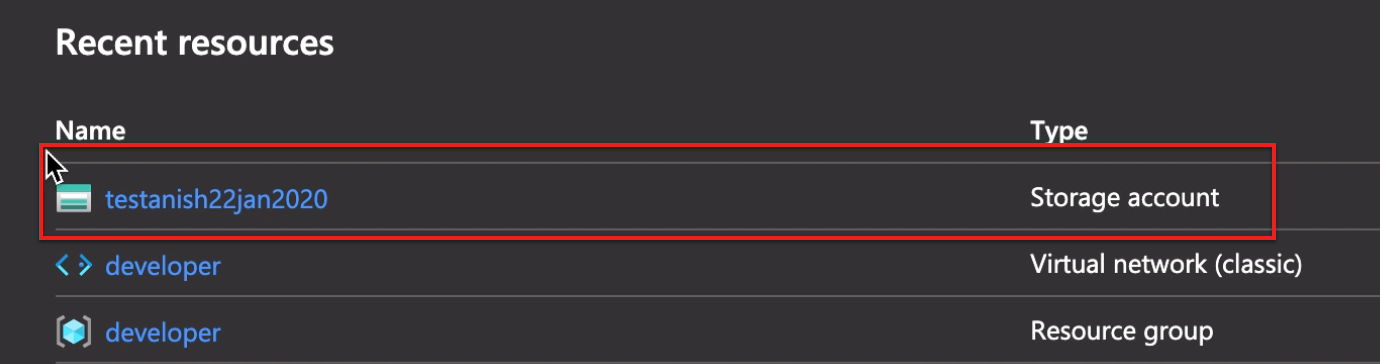
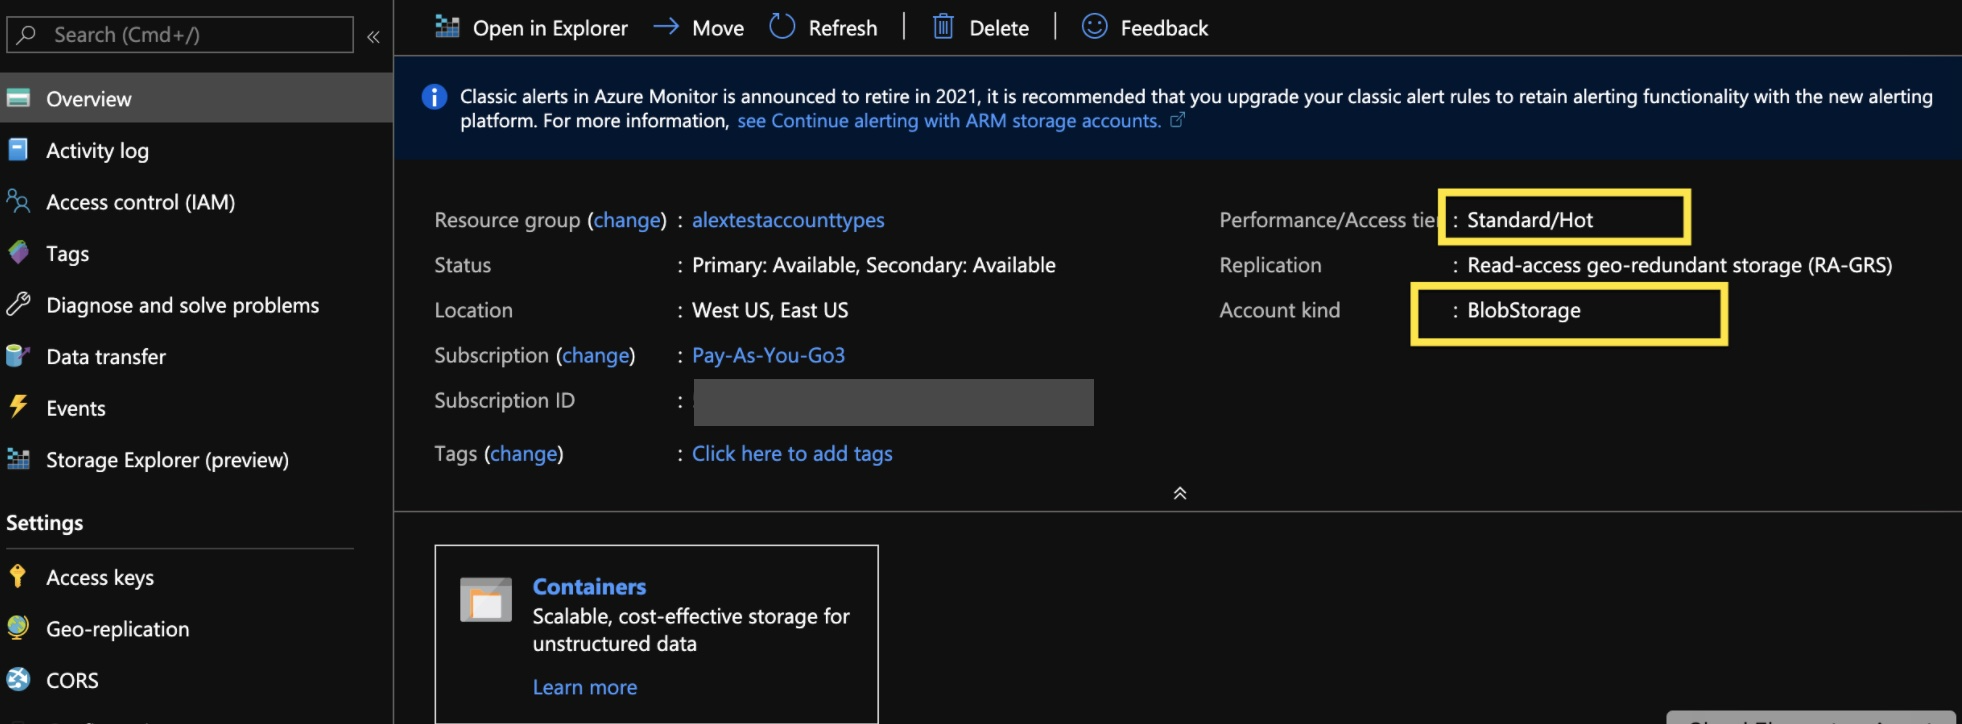
- Go to your storage account.
- There are different types of Storage available on Azure for your account -

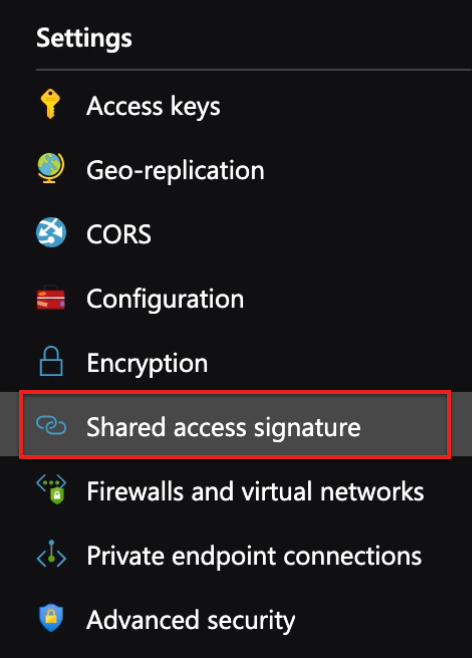
- Click Shared Access Signature (SAS) on the navigation panel.
- On the console that opens, select the allowed services.
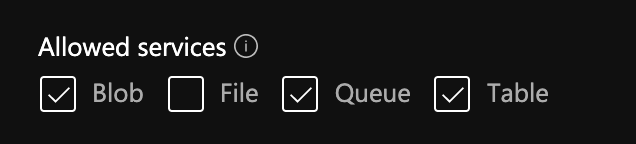 Depending on the services you allow the value of the allowed services field will change; it can be any combination of blob, file, queue, table (bfqt).
 - Now, select the allowed resource types.
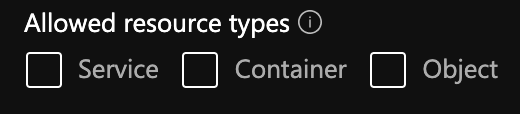 The value for the allowed resource types depends on the resource types you select. That is, it could be 'sco' for all three resource types being available or any combination of the three, where 's' stands for 'service', 'c' for container, and O for 'object'.
- If you enter either 'co' or 'o', then value for the field 'Container Name' (or sas.container) is also required to validate and create an instance. You must enter the name of the container, that you have created already, in the field
Container Name. - If you enter 'o', then the container must have a file or object or directory in it and must be passed in the field
Container Nameas{containerName}/{object or file name}.
It is not required if all three are selected (sco). The value entered in the field 'Container Name' depends on the allowed services selected in the previous step (bfqt).
- If you enter either 'co' or 'o', then value for the field 'Container Name' (or sas.container) is also required to validate and create an instance. You must enter the name of the container, that you have created already, in the field
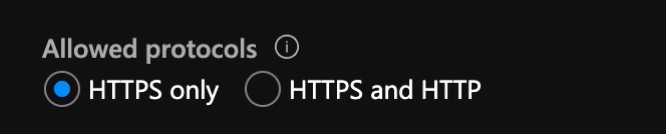
- Select the protocol you would like to allow.
- Click on the Generate SAS and connection string button.

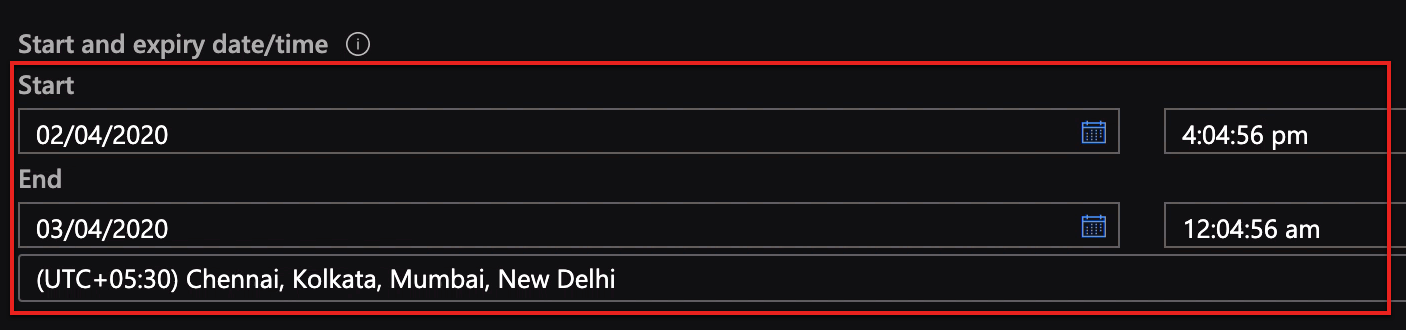
- This will generate a SAS token, as shown below. You need to use this token to locate the credentials that you will need to authenticate.

- Below are the fields that help you locate the credentials:
- Azure Storage Account Name is the name of your storage account.
- Azure Storage Allowed Services

- End Date

- Azure Storage Permissions

- Communication Protocol is the protocol you selected in step 4.

- Resource Type

- Signature

- Start Date

- Version


 Depending on the services you allow the value of the allowed services field will change; it can be any combination of
  The value for the allowed resource types depends on the resource types you select. That is, it could be 'sco' for all three resource types being available or any combination of the three, where 's' stands for 'service', 'c' for container, and O for 'object'.


Enter the above credentials to authenticate using the SAS method.
 Once the given period expires you will need to generate a new SAS token.
 If the SAS token is re-generated before the given time period, you will need to provision a new instance.
Locate Credentials for Shared Key Authentication
- Login via portal.azure.com/#home
- Go to your storage account.
- There are different types of Storage available on Azure for your account -
- Click on Access Keys on the navigation panel.
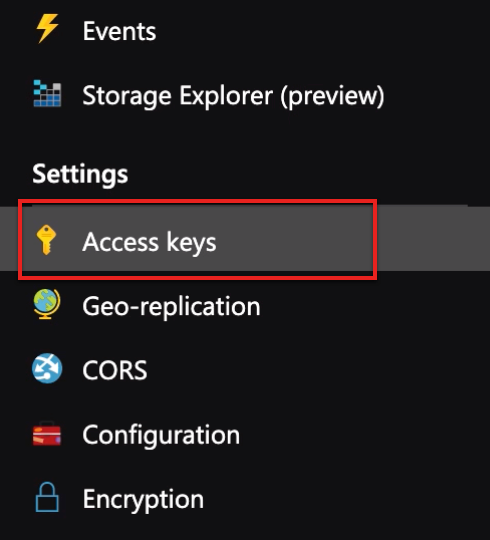
- On the console that appears, copy the key under key1. Alternatively, you can also use the entire connection string below it.
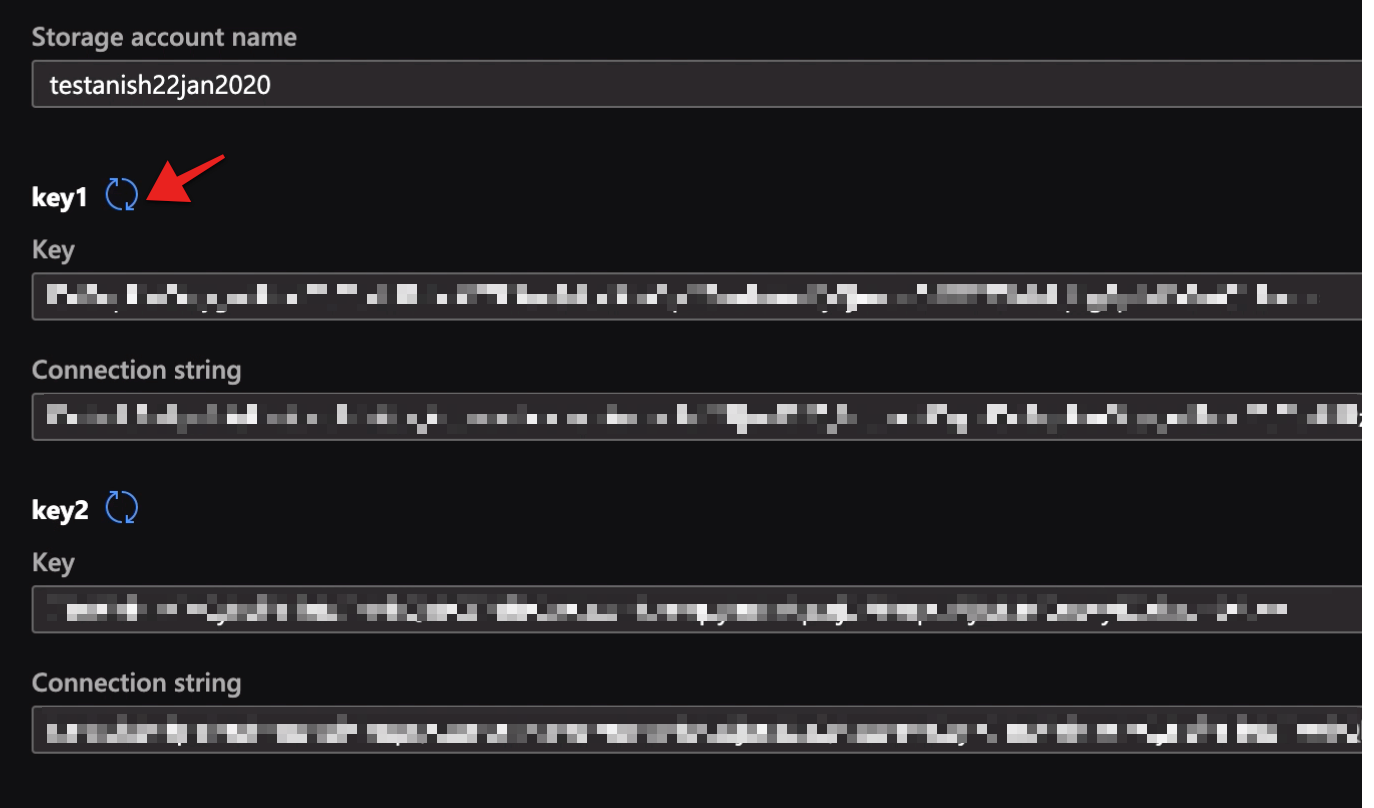 Excerpt from Azure documentation - You can use either key to access Azure Storage, but in general it's a good practice to use the first key and reserve the use of the second key for when you are rotating keys.


Enter the shared key, your Storage account name, and an instance name to authenticate with the Azure Blob element.
- In case of only Blobstorage, modify the OnProvision-auth to point to .blob.core.windows.net/ instead of .queue.core.windows.net/
Required Authentication Parameters
You can authenticate an element instance using the UI or via API calls. For detailed information on how to authenticate an instance, see our related documentation:
To authenticate an instance of the Azure Blob element with SAS as the authentication type, you will need the following parameters:
| Parameter Name/UI Value | API Value | Description | Source |
|---|---|---|---|
| Account Name | accountname | Created by user before authentication | Create Storage Account |
| Allowed Services | sas.allowedservices | Generated before authentication | Locate Credentials for SAS Authentication |
| End Date | as.enddate | Generated before authentication | Locate Credentials for SAS Authentication |
| Permissions | sas.permissions | Generated before authentication | Locate Credentials for SAS Authentication |
| Communication Protocol | sas.protocol | Generated before authentication | Locate Credentials for SAS Authentication |
| Resource Type | sas.resourcetype | Generated before authentication | Locate Credentials for SAS Authentication |
| Signature | sas.signature | Generated before authentication | Locate Credentials for SAS Authentication |
| Start Date | sas.startdate | Generated before authentication | Locate Credentials for SAS Authentication |
| Version | sas.version | Generated before authentication | Locate Credentials for SAS Authentication |
| OAuth Callback URL | oauth.callback.url | Default value is https://auth.cloudelements.io/oauth | Authenticate an Element Instance (API) |
To authenticate an instance of the Azure Blob element with Shared Key as the authentication type, you will need the following parameters:
| Parameter Name/UI Value | API Value | Description | Source |
|---|---|---|---|
| Account Name | accountname | Created by user before authentication | Create Storage Account |
| Shared Key | sharedkey.key | Generated before authentication | Locate Credentials for Shared Key Authentication |
| OAuth Callback URL | oauth.callback.url | Default value is https://auth.cloudelements.io/oauth | Authenticate an Element Instance (API) |
Sample Configuration JSON
SAS as the authentication type
"configuration": {
    "authentication.type": "sas",
    "accountname": "[myAccountName]",
    "sas.allowedservices": "[myAllowedServices]",
    "sas.enddate": "[myEndDate]",
    "sas.permissions": "[myPermissions]",
    "sas.protocol": "[myCommunicationProtocol]",
    "sas.resourcetype": "[myResourceType]",
    "sas.signature": "[mySignature]",
    "sas.startdate": "[myStartDate]",
    "sas.version": "[myVersion]",
    "oauth.callback.url": "https://auth.cloudelements.io/oauth"
  }
Shared Key as the Authentication type
"configuration": {
    "authentication.type": "sharedkey",
    "accountname": "[myAccountName]",
    "sharedkey.key": "[mySharedKey",
    "oauth.callback.url": "https://auth.cloudelements.io/oauth"
  }
Element Fact Sheet and Reference
Authentication and Configuration Parameters
To see all authentication parameters for the Azure Blob element, follow these steps:
- Sign in to Cloud Elements and navigate to Elements.
- Hover over the card for an element, and then click My Resources.

- In the top navigation toolbar, click Setup.
- From the Setup page, you can view a complete list of the element's authentication and configuration parameters.

Events and Supported Resources
The Azure Blob element supports events via webhooks. For detailed information about our Events framework and how to configure an element instance with events, see our documentation:
To set up Events for Azure Blob:
- Login via portal.azure.com/#home.
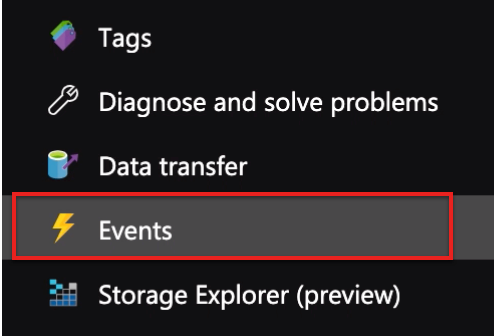
- On the navigation panel on the left, click Events.
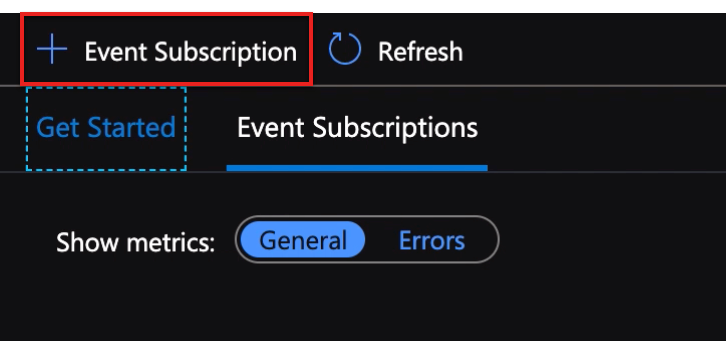
- The Events console appears. Click Event Subscription.
- Provide a name for your event.

- Select an Event Type.

- Select 'Web Hook' as your Endpoint Type from the drop down.

- Once you select Web Hook as your endpoint type, click Select an endpoint.

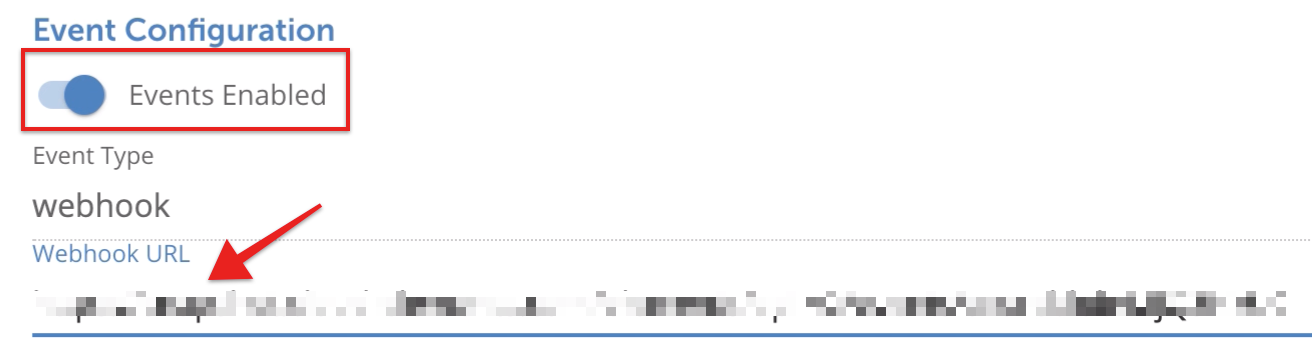
- Head to the Cloud Elements Instance Creation page, create an instance and then toggle the Events button On.
- Once Events is enabled, copy the Webhook URL.
- Go back to the Azure Portal once again and paste this Webhook URL in the Subscriber Endpoint field.

- Click Create to create an event.


You have set up events for your instance via webhooks and will be able to see the new event you created on the Events console.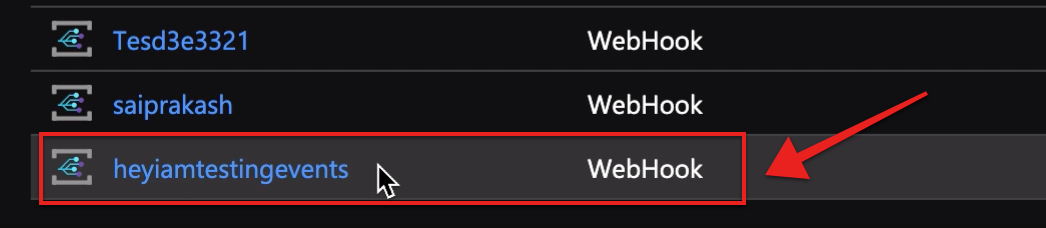
Queryable Endpoints
You can use CEQL to query the following endpoints of the Azure Blob element:
- GET /files
- GET /message-queues
- GET /message-queues/{id}/messages
- GET /{objectName}
- GET /{objectName}/{objectId}/{childObjectName}
- GET /share-drives
- GET /share-drives/folders
- GET /share-drives/folders/files
- GET /tables
- GET/tables/{id}/records
Element API Documentation
The base URL for all API requests is https://api.cloud-elements.com/elements/api-v2.
